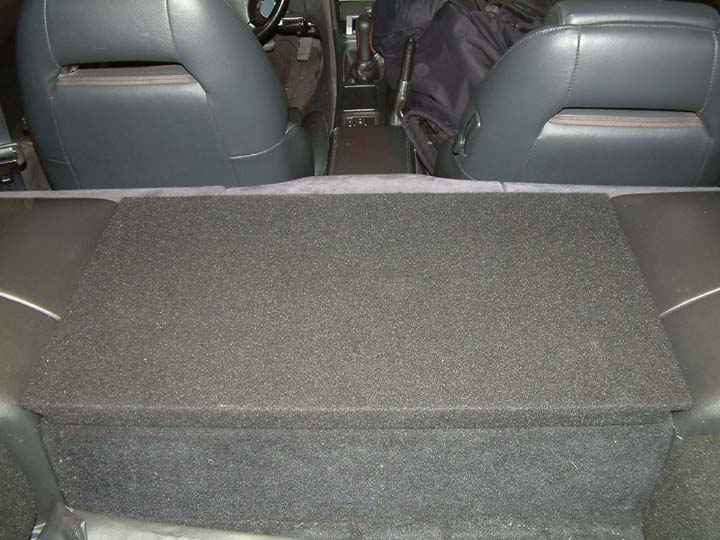
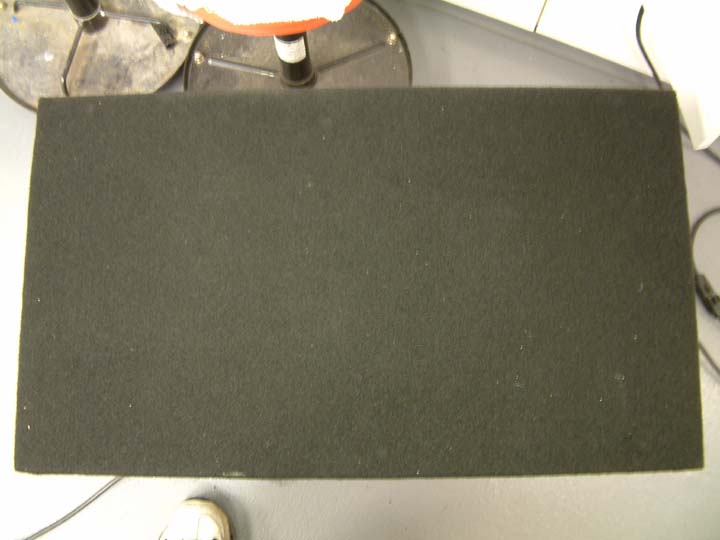
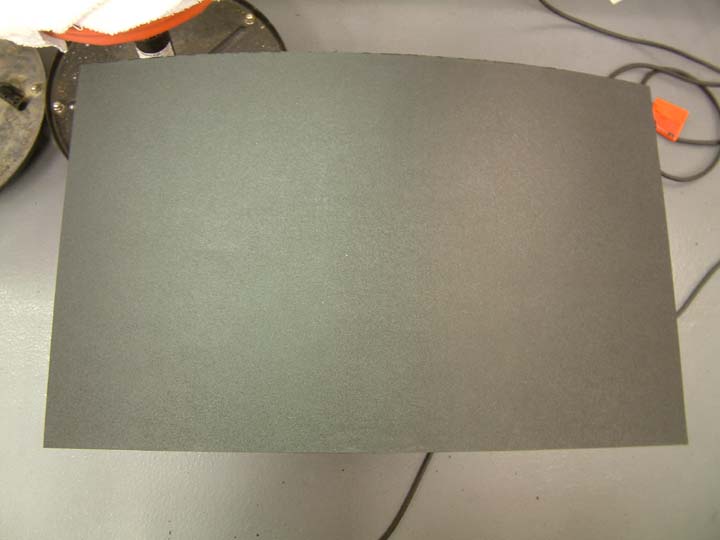
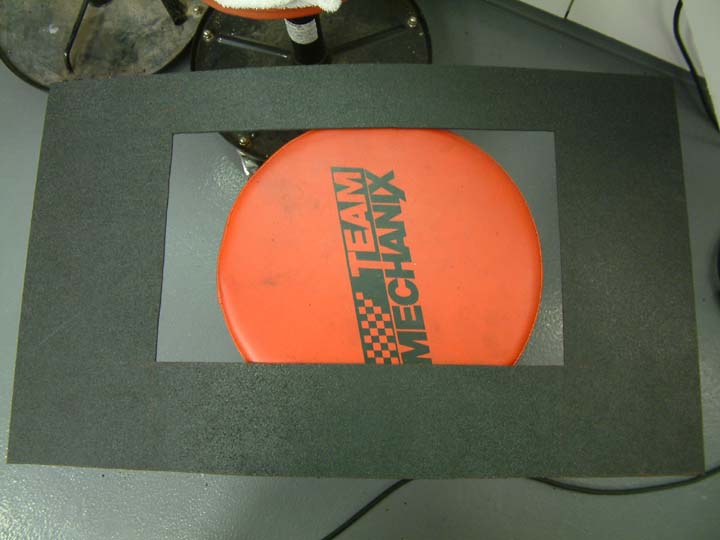
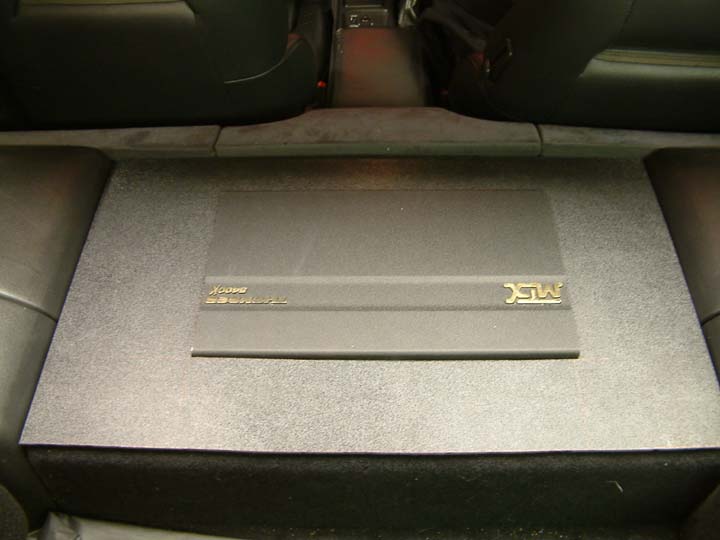
 This is what my
original cover looks like in place and what the underside looks like. I will use
this for daily driving chores for the stealth look and the carbon fiber will be
used just for shows or showing off.
This is what my
original cover looks like in place and what the underside looks like. I will use
this for daily driving chores for the stealth look and the carbon fiber will be
used just for shows or showing off. Created: 2/9/2004
Last updated: 2/10/2004
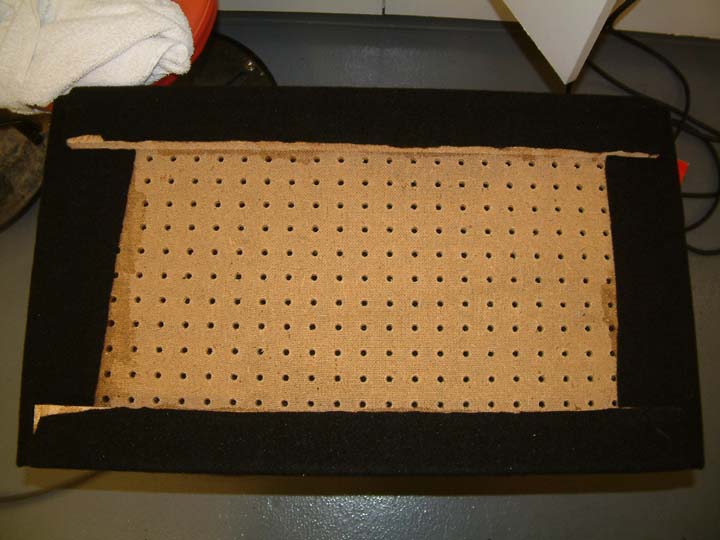
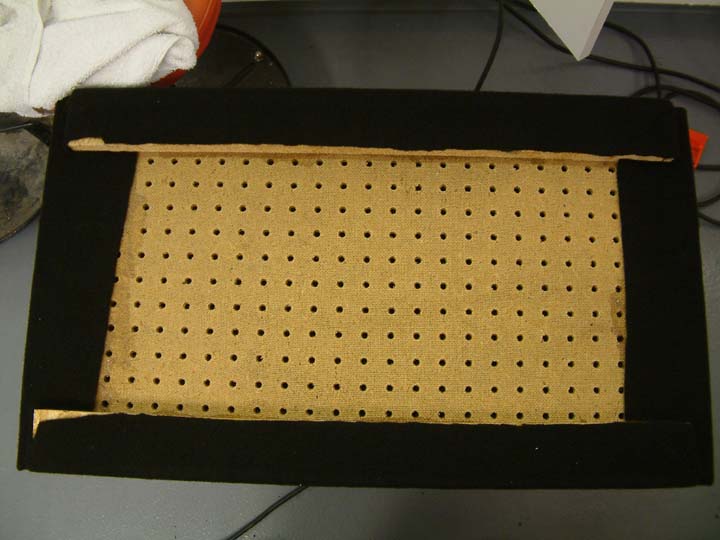
Well, I decided that I wanted a more flashy garnish for my amplifier on the rear package shelf. The one that I currently use is made out of peg board with particle board extensions to fit on top of the amplifier. The whole thing is covered with a matching carpet. The premise behind this is to keep my interior stealthy so that my car does not attract unwarranted attention to the interior. I decided to make a garnish (frame) that is covered in carbon fiber. I consulted with my good friend Glenn, who is an accomplished master carbon fiber technician ( ;-P ).
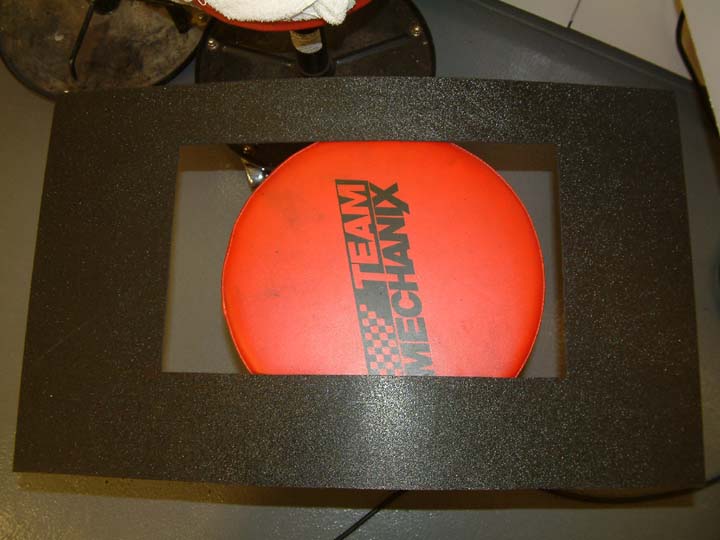
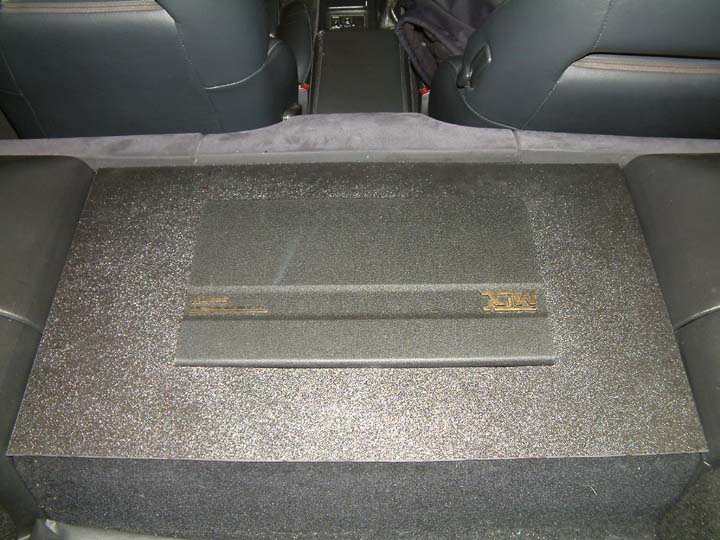
This is what my
original cover looks like in place and what the underside looks like. I will use
this for daily driving chores for the stealth look and the carbon fiber will be
used just for shows or showing off.
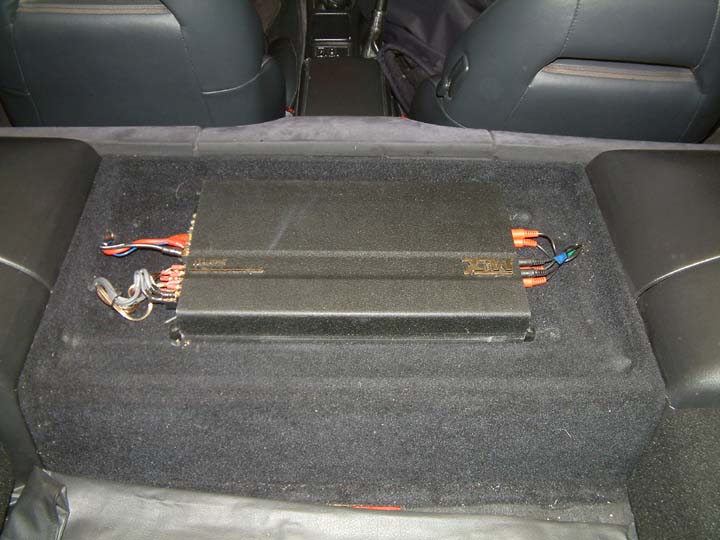
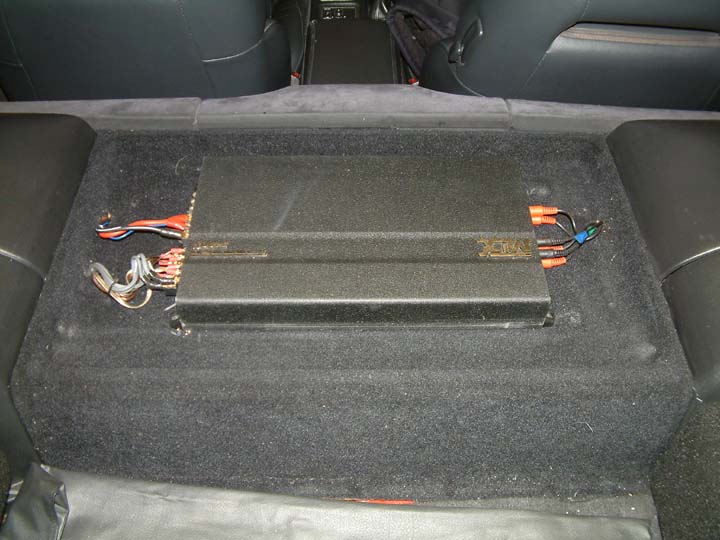
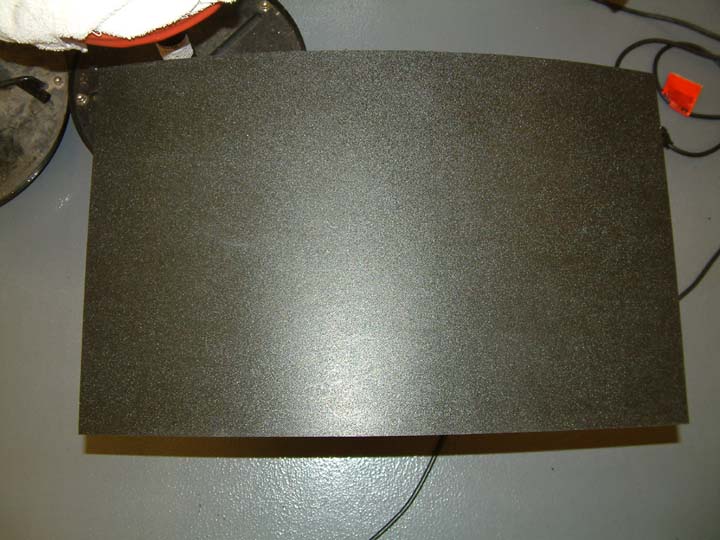
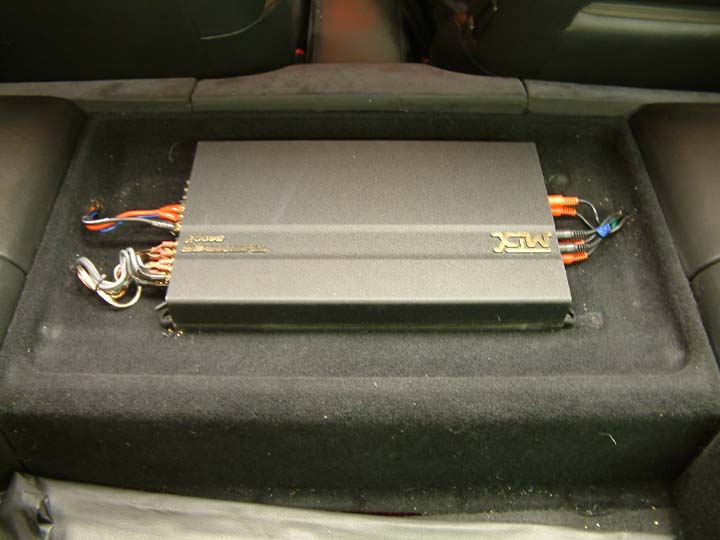 This is what my amp
looks like under the cover. I had to unscrew it and pull some of the wires out
to give some slack for adjustment and such. I would never leave this uncovered
when parked. It would just be an invitation to steal me.
This is what my amp
looks like under the cover. I had to unscrew it and pull some of the wires out
to give some slack for adjustment and such. I would never leave this uncovered
when parked. It would just be an invitation to steal me.
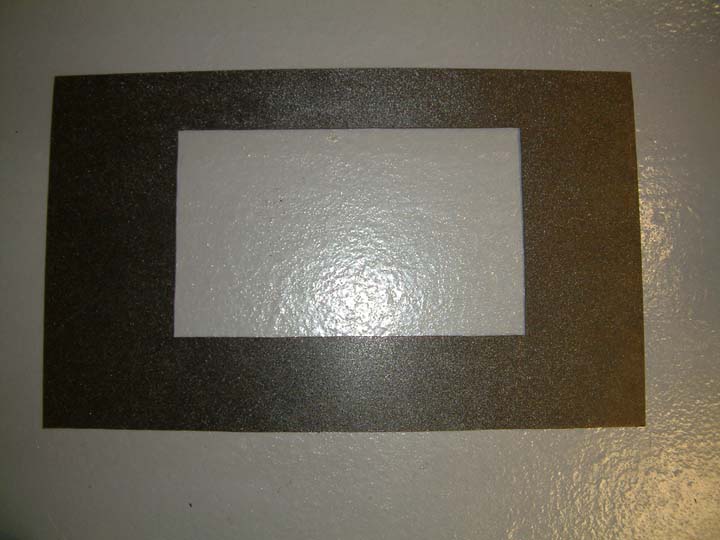
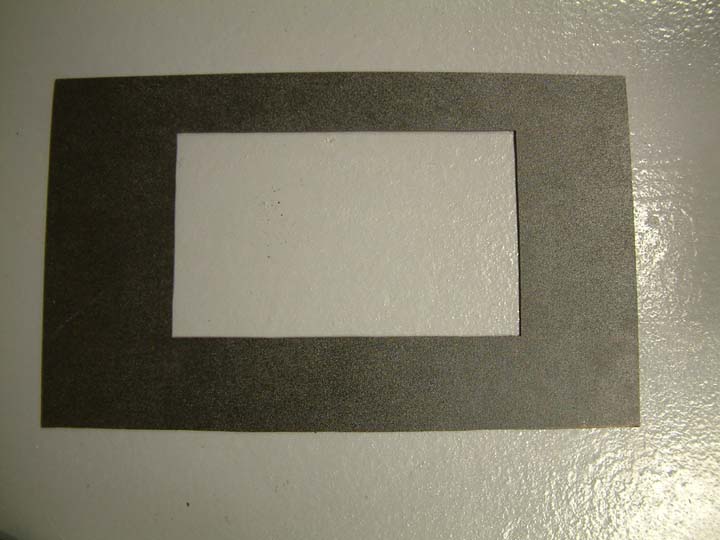
 I went to Tap Plastic
to purchase a thin ABS plastic sheet. I will take measurements of the amp and
it's surroundings to make the cut in the middle.
I went to Tap Plastic
to purchase a thin ABS plastic sheet. I will take measurements of the amp and
it's surroundings to make the cut in the middle.

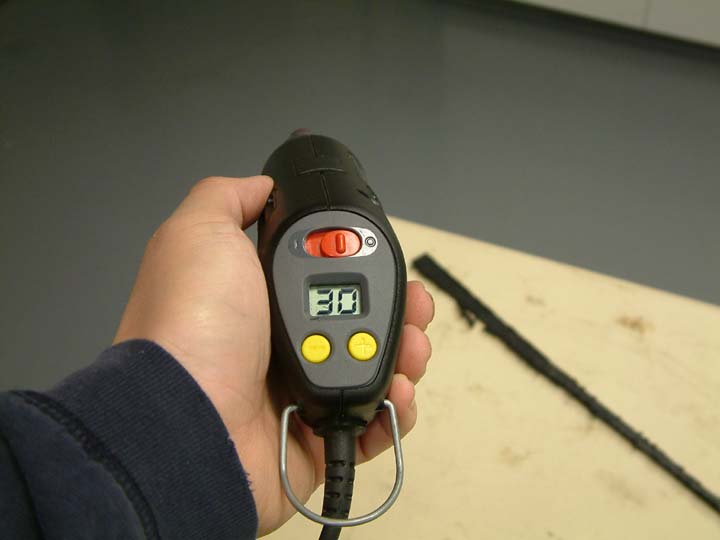 This is my helper of
choice. A Dremel Professional with an electronically controlled speed adjustment with digital
display. I purchased this about 4 years ago from Costco and it's almost infinite
adjustability allows for delicate cuts and polishing.
This is my helper of
choice. A Dremel Professional with an electronically controlled speed adjustment with digital
display. I purchased this about 4 years ago from Costco and it's almost infinite
adjustability allows for delicate cuts and polishing.
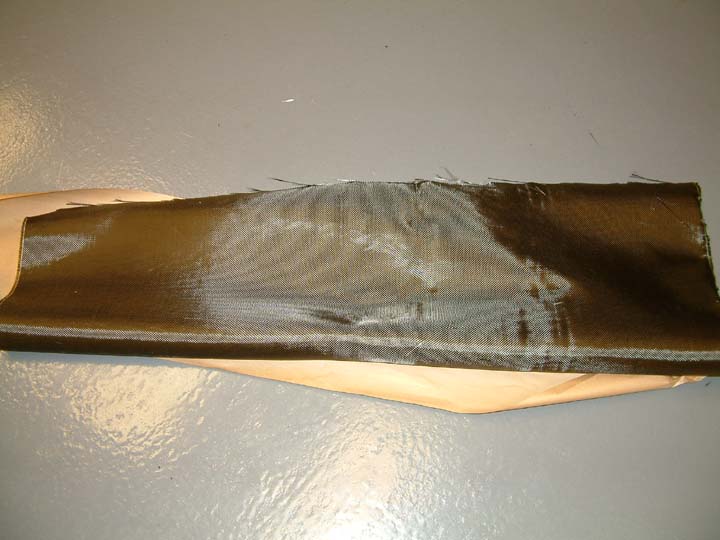
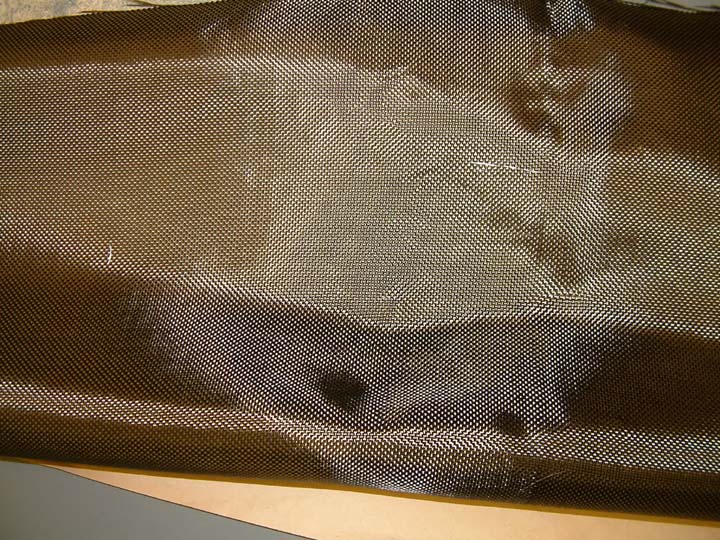
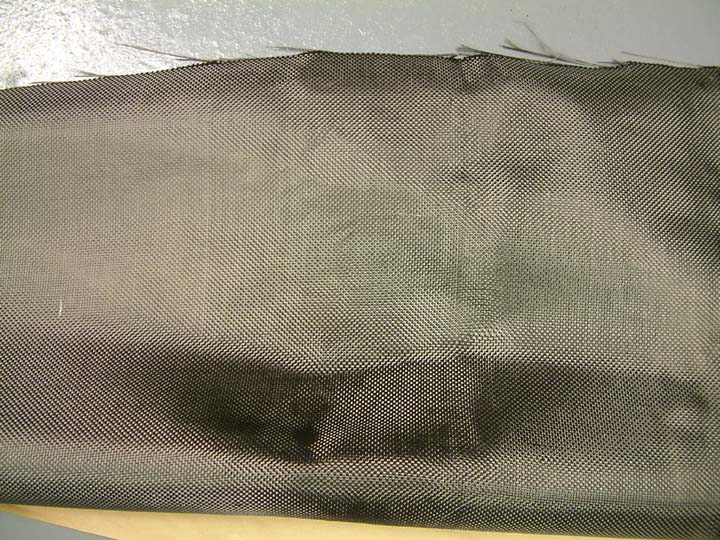
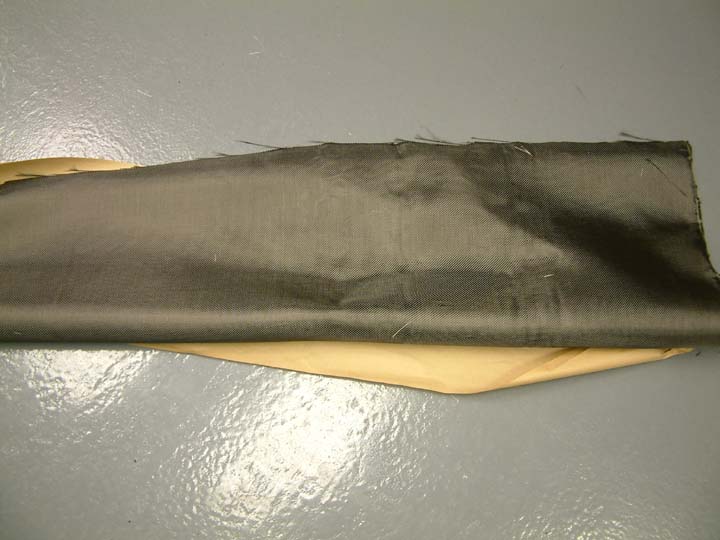
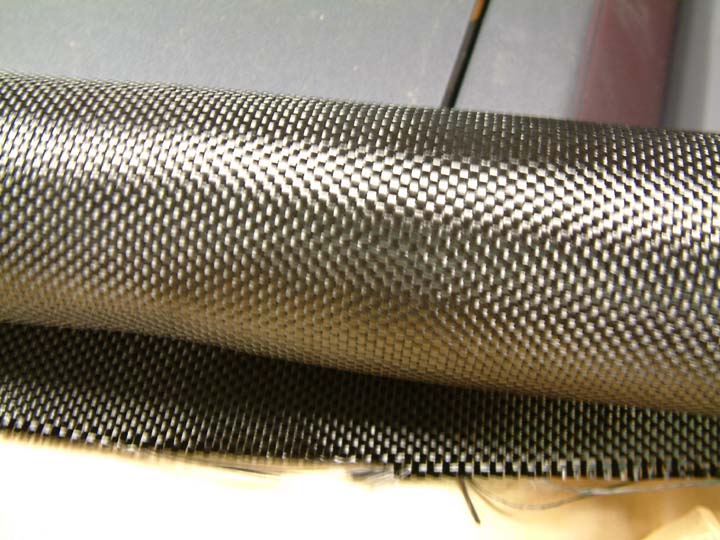 I purchased this
carbon fiber blanket at Tap Plastic as well. This is what a roll of the carbon
fiber blanket looks like in it's natural state.
I purchased this
carbon fiber blanket at Tap Plastic as well. This is what a roll of the carbon
fiber blanket looks like in it's natural state.
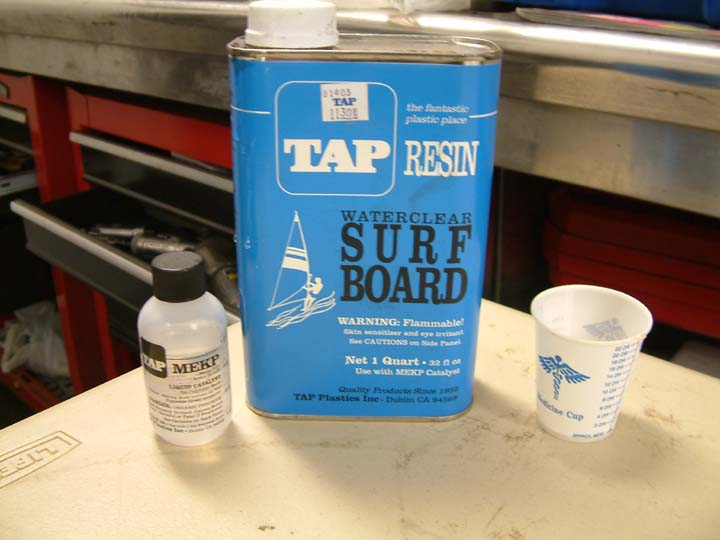
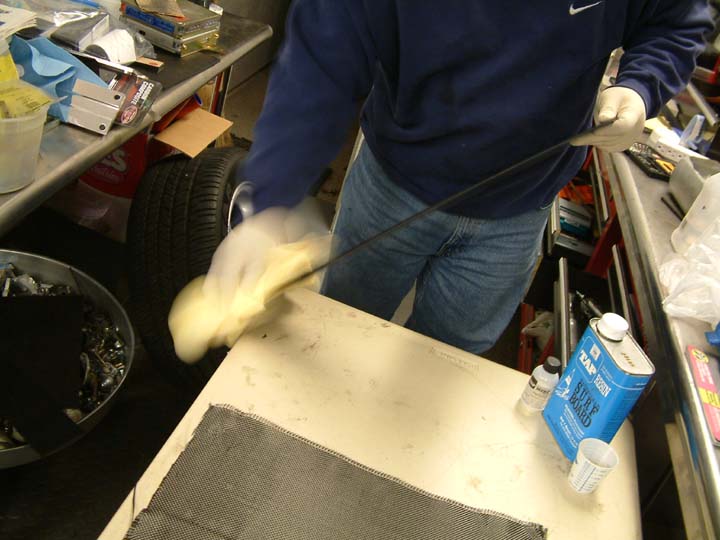
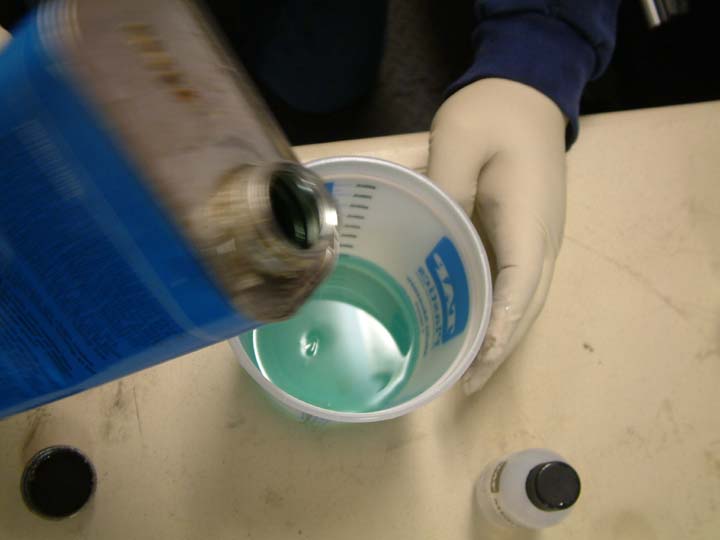
To lay the carbon fiber blanket on the plastic and give it the glossy look, I had to acquire the following materials and supplies:
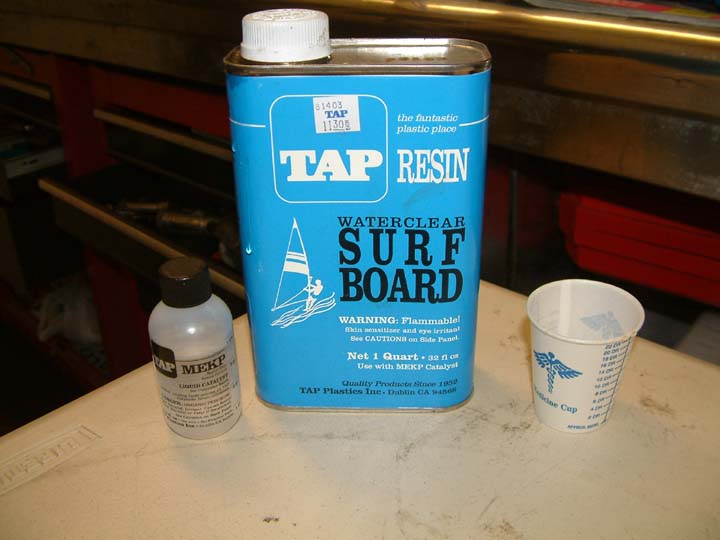
1) Tap Plastic brand Waterclear Surfboard resin.
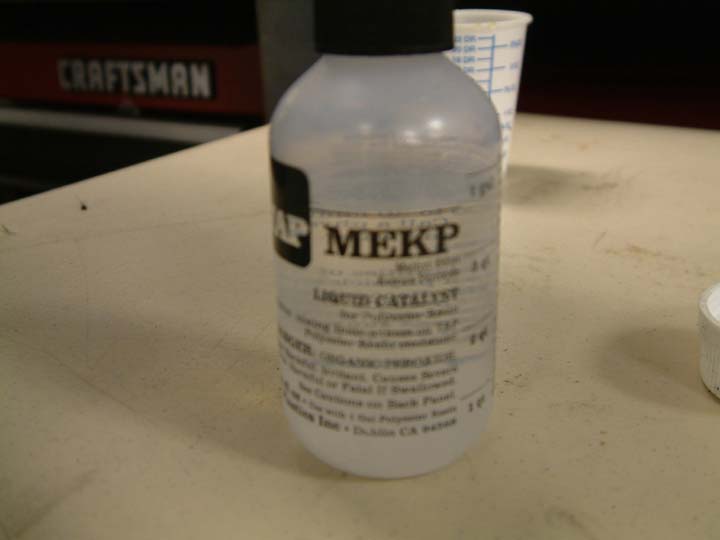
2) Tap Plastic brand MEKP liquid catalyst drops.
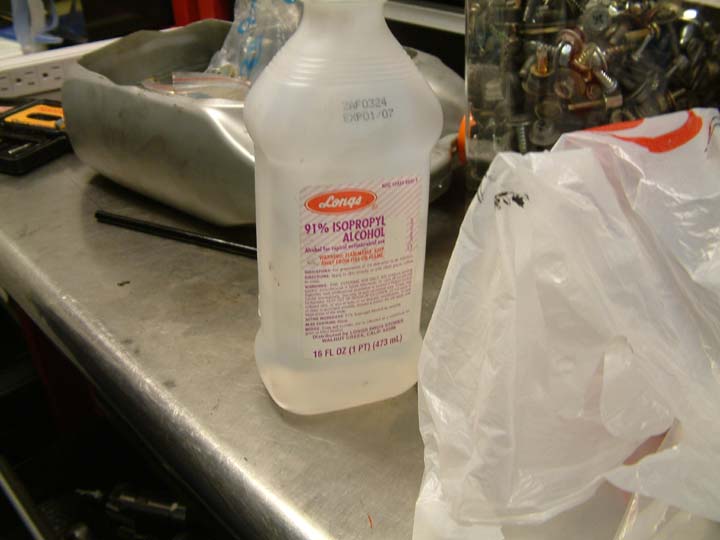
3) Any brand 91% isopropyl alcohol.
4) Measuring cup available from Tap Plastic as well with measuring marks.
5) Mixing brushes.
6) Plastic spatula.
7) Protective eyewear.
8) Protective gloves.
9) Protective mask (preferred).
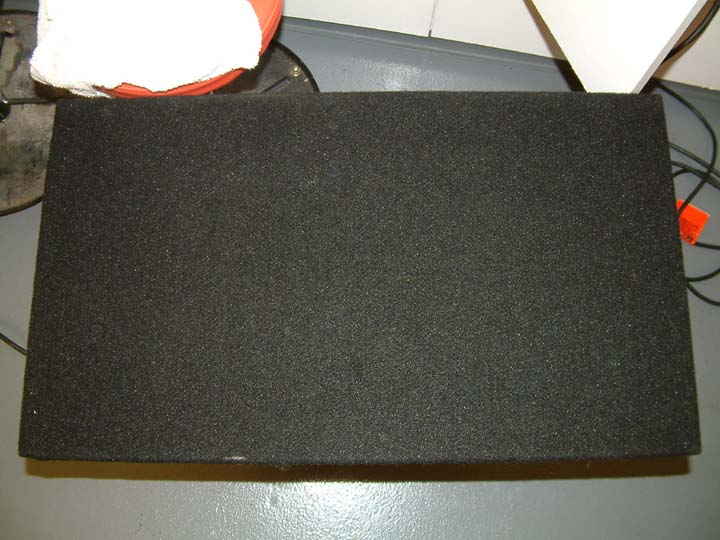
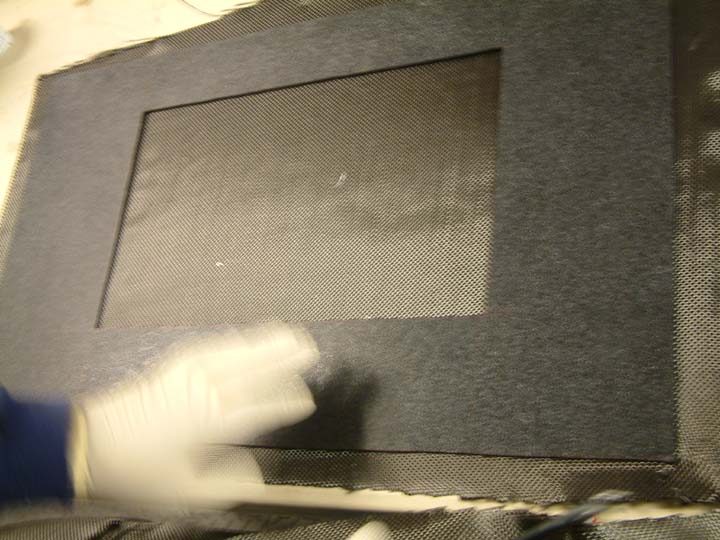
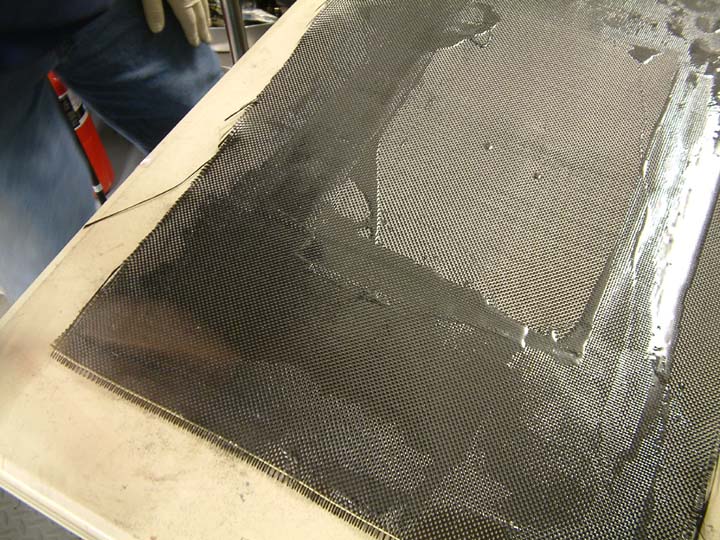
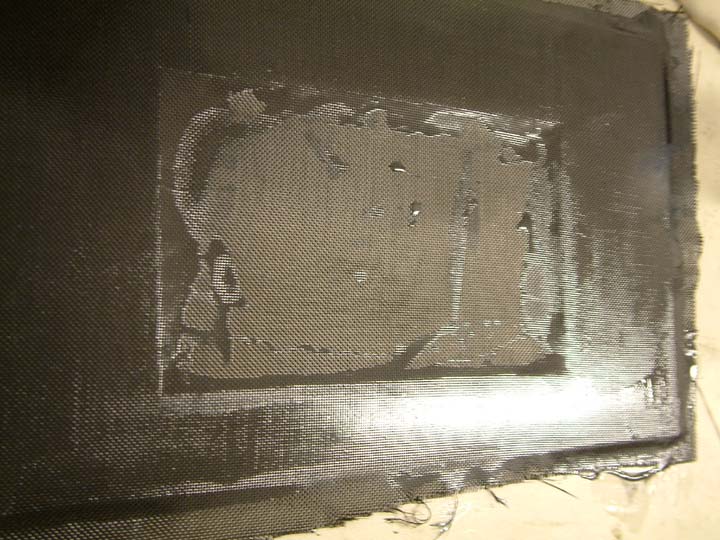
After some time spent meticulously cutting and fitting the frame. This is what the finished unlaminated product looks like:
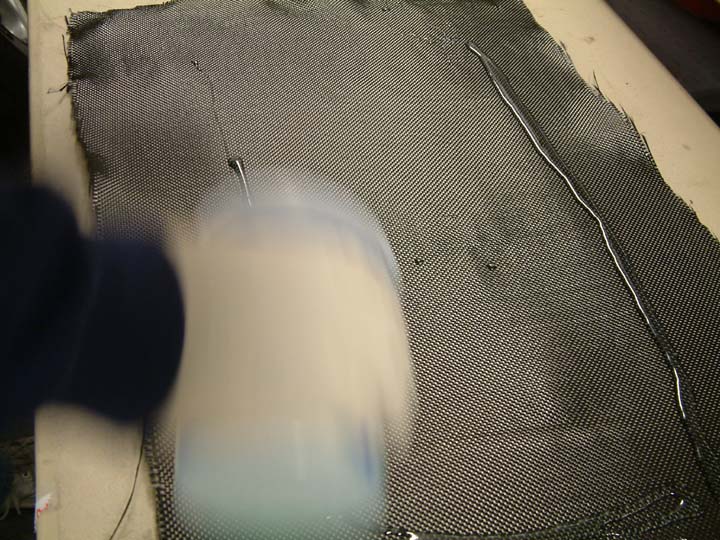
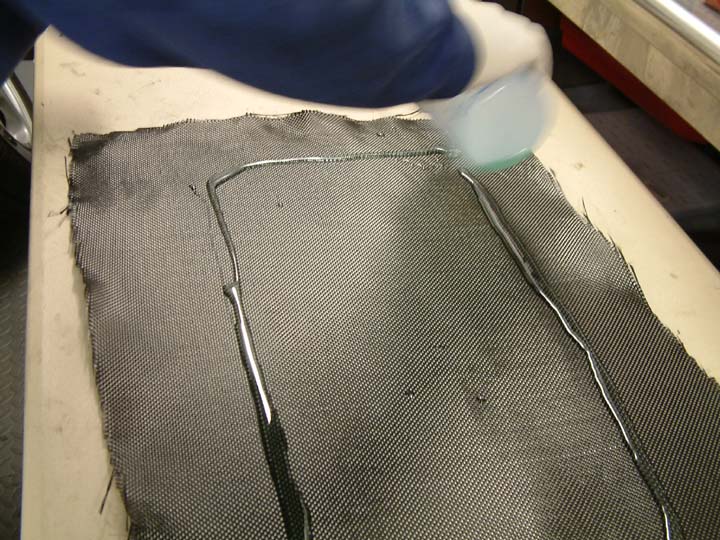
After the modification to the plastic was finished, it was time to prep the plastic. We used sand paper to remove any loose plastic and then used alcohol to clean the plastic of any oils and chemicals present on the surface.
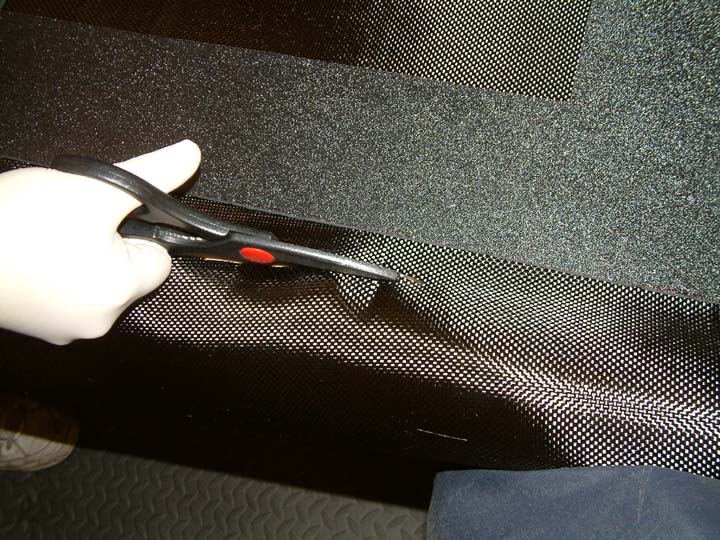
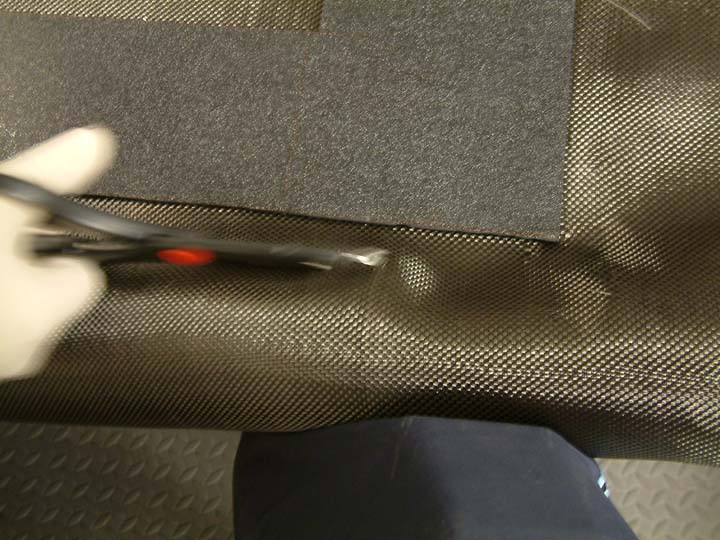
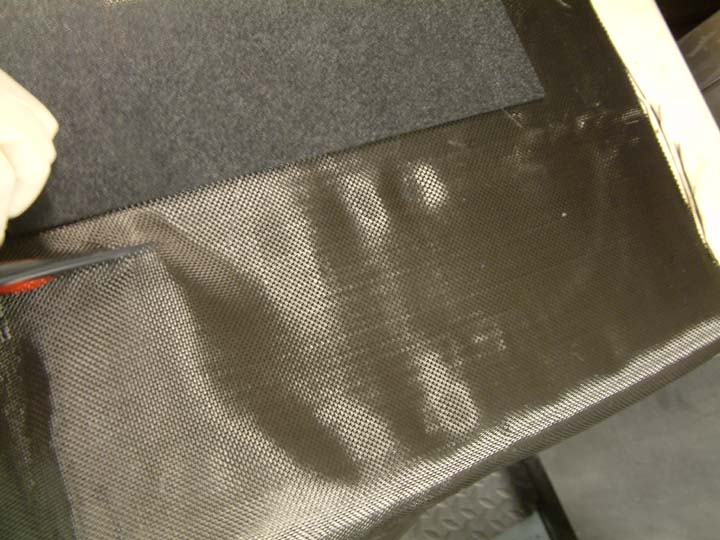
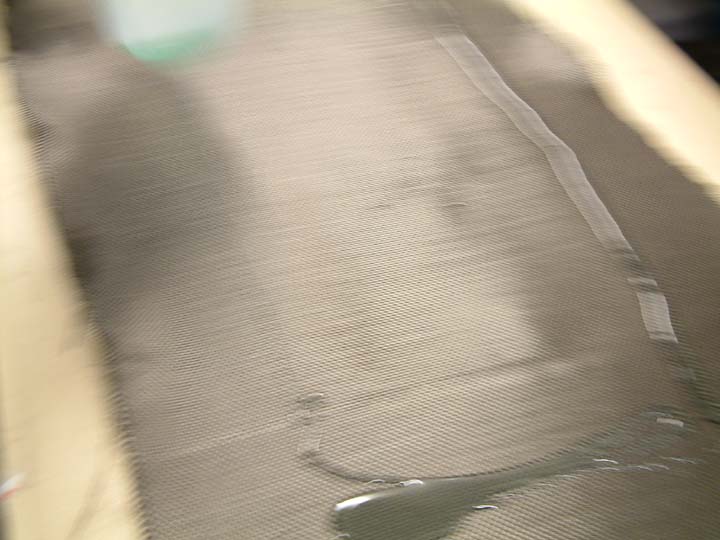
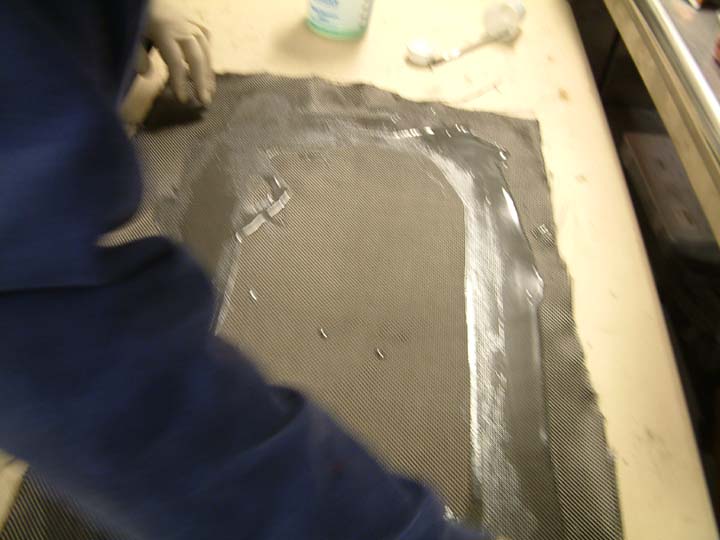
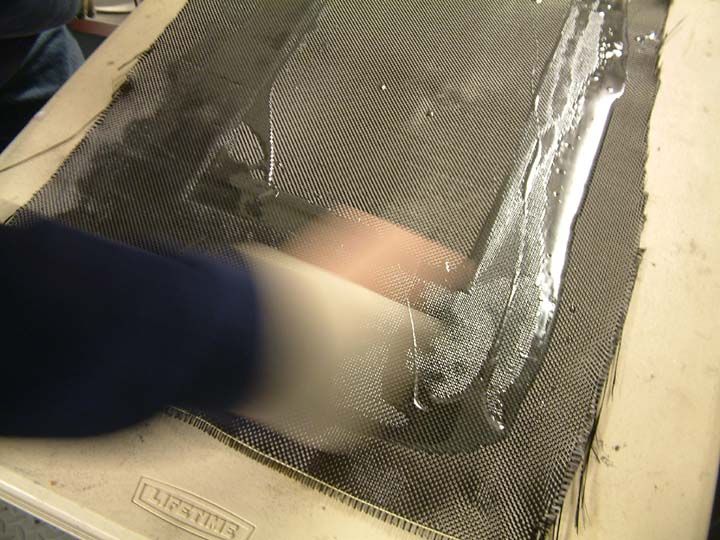
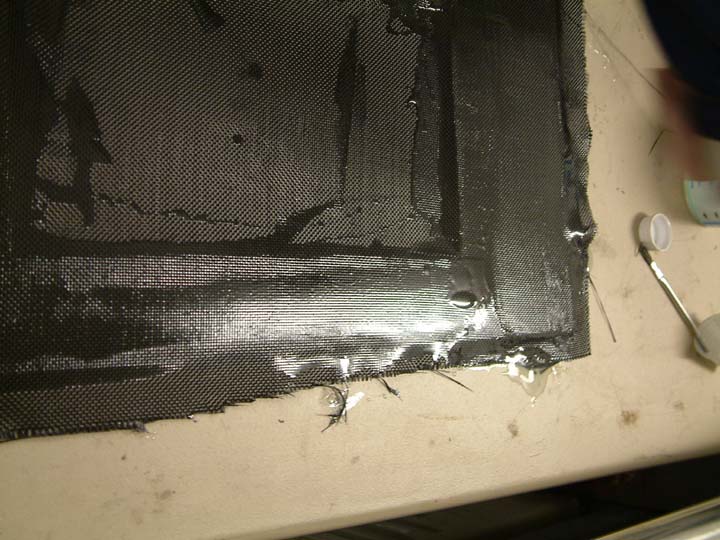
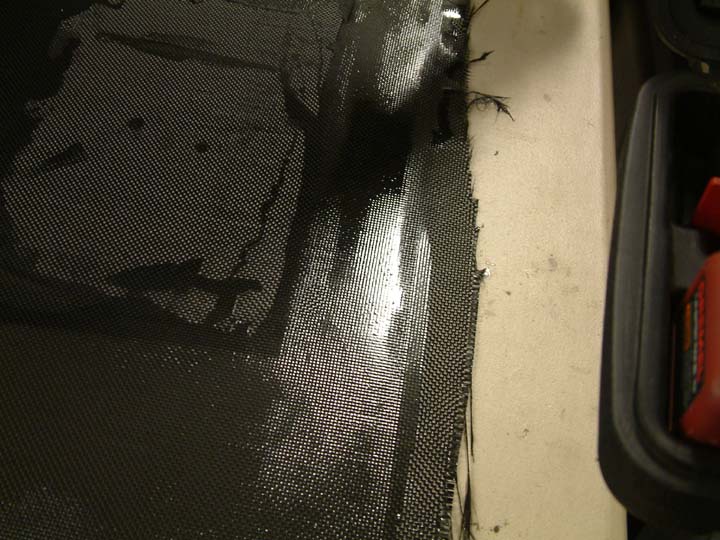
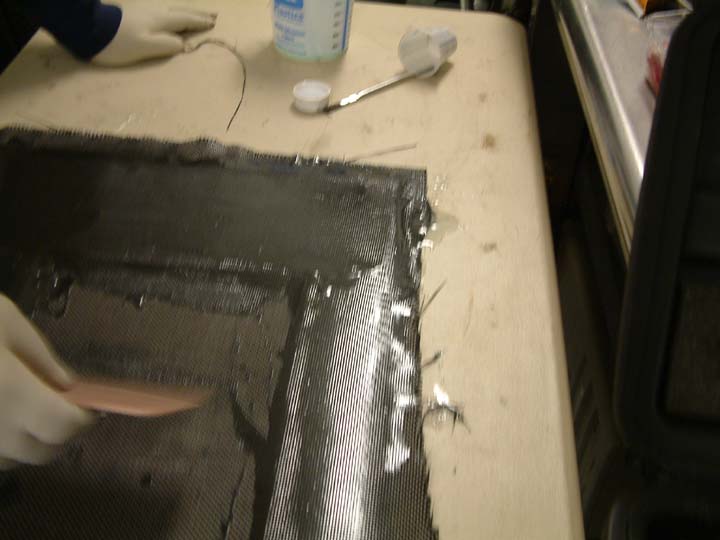
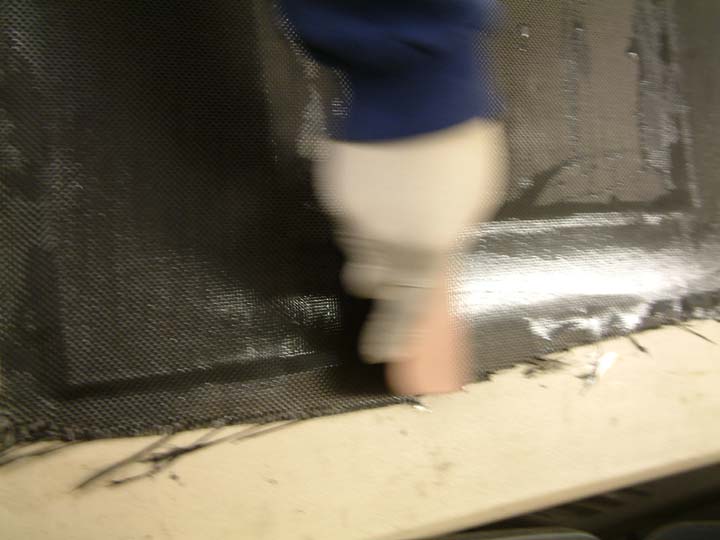
Once that was done, we laid the carbon fiber blanket on top of the board and trimmed the outside portion to fit. We left the inside untrimmed as we can cut that out when everything is dried. You will definitely need a very good and very sharp pair of scissors to cut the carbon fiber. Your scissor won't last very long though when you cut a lot of carbon fiber.
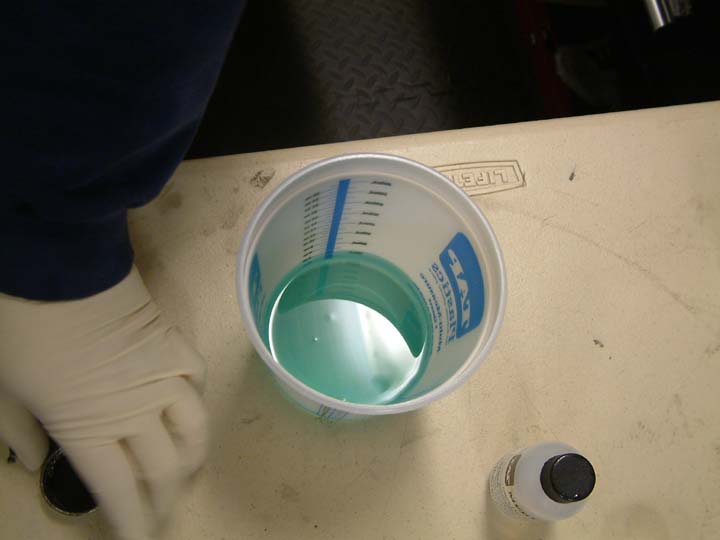
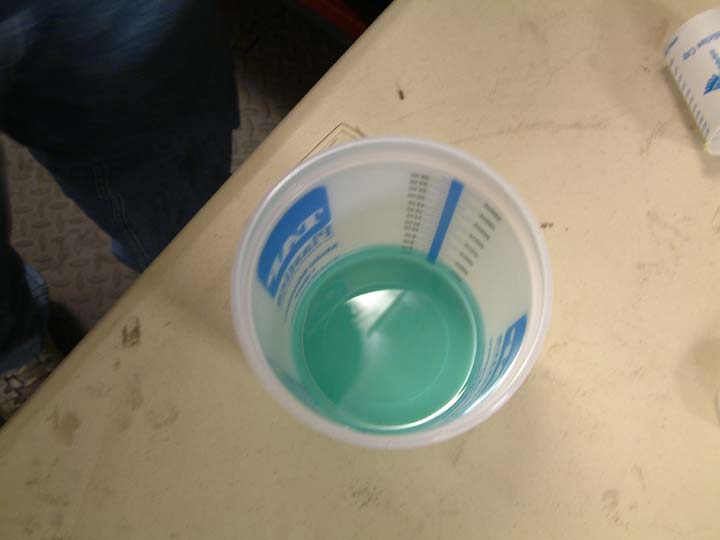
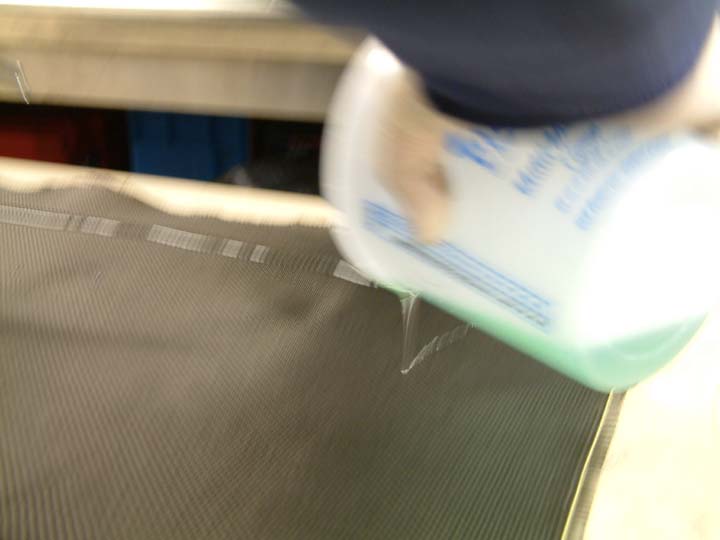
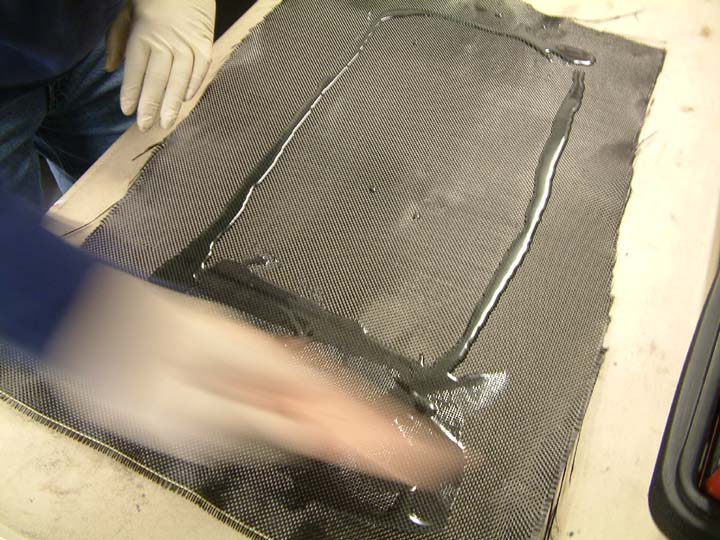
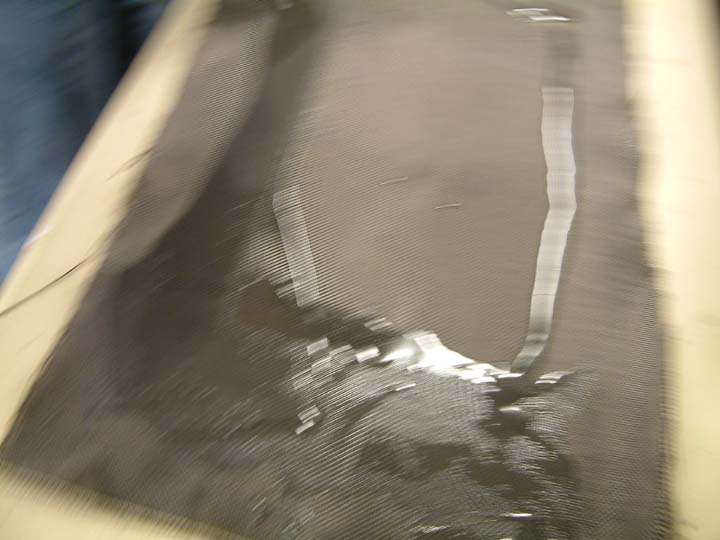
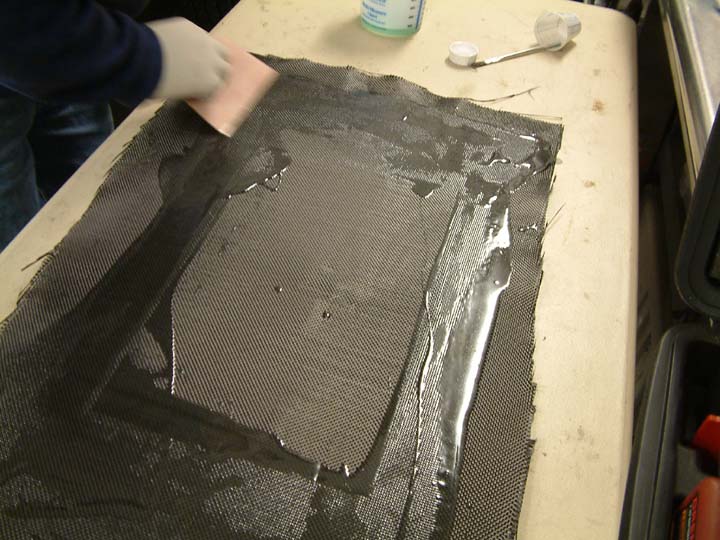
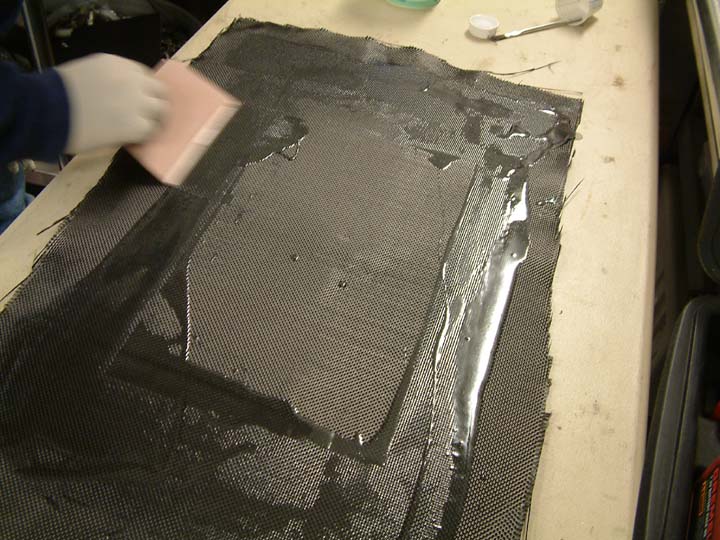
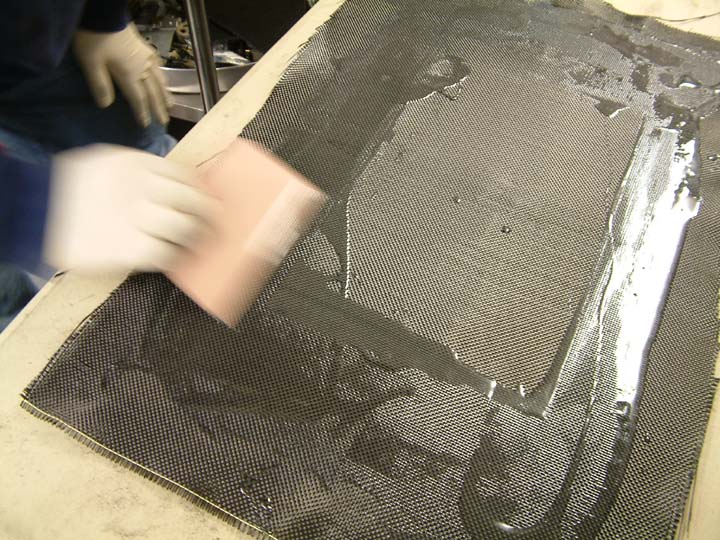
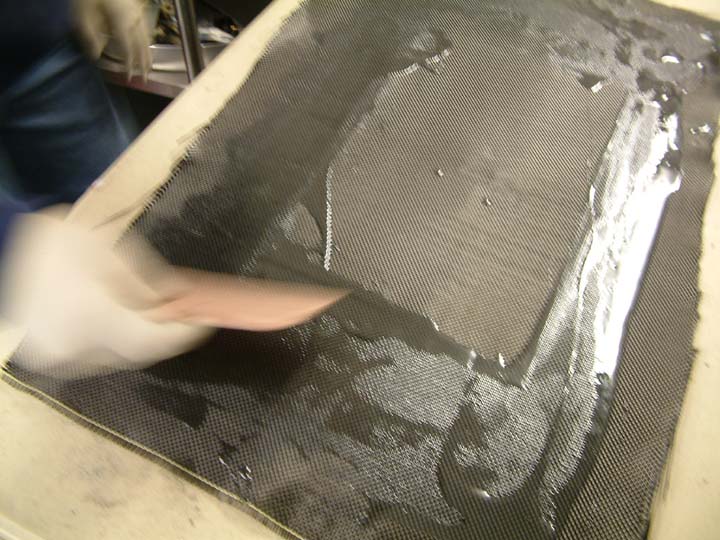
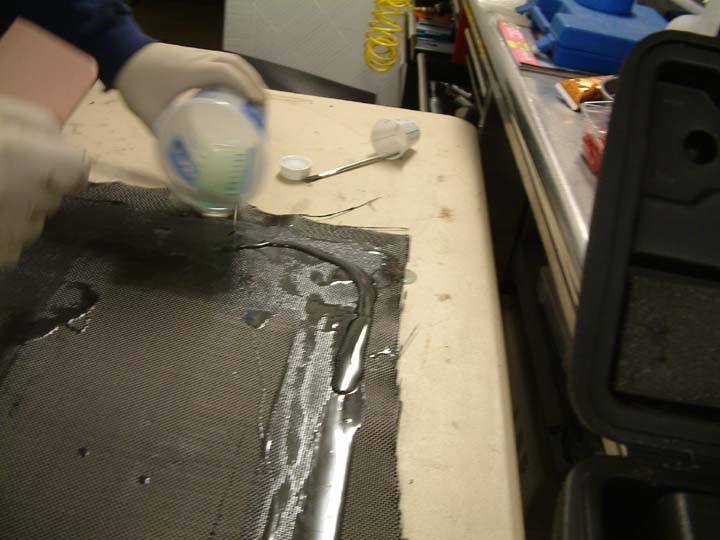
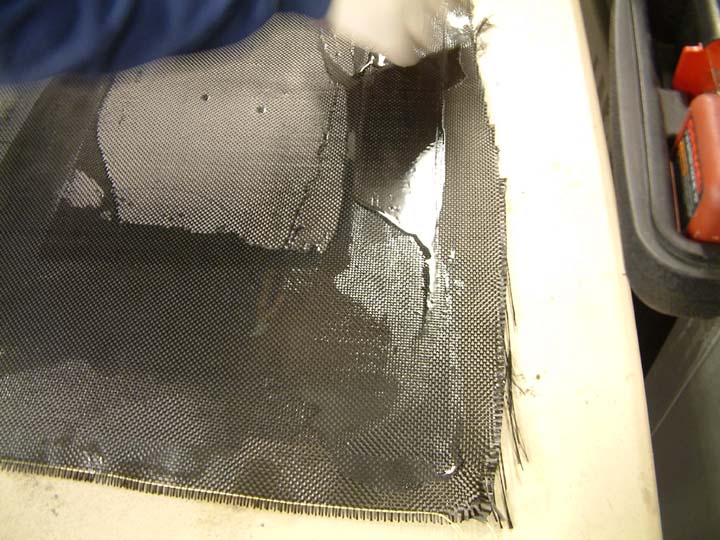
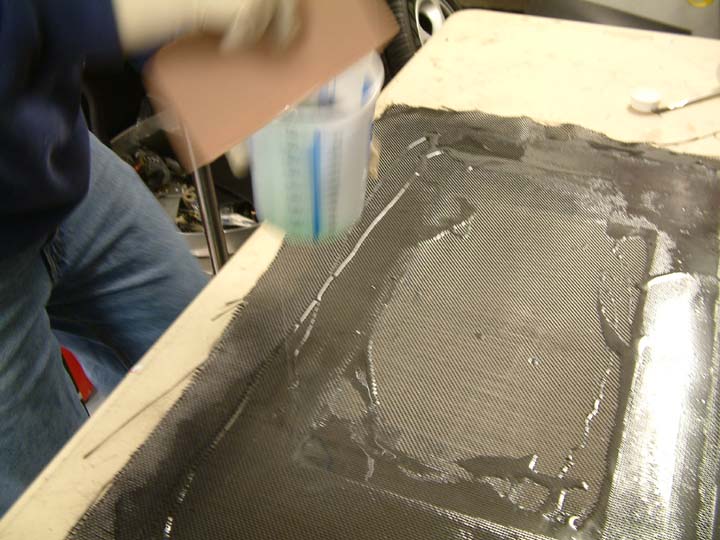
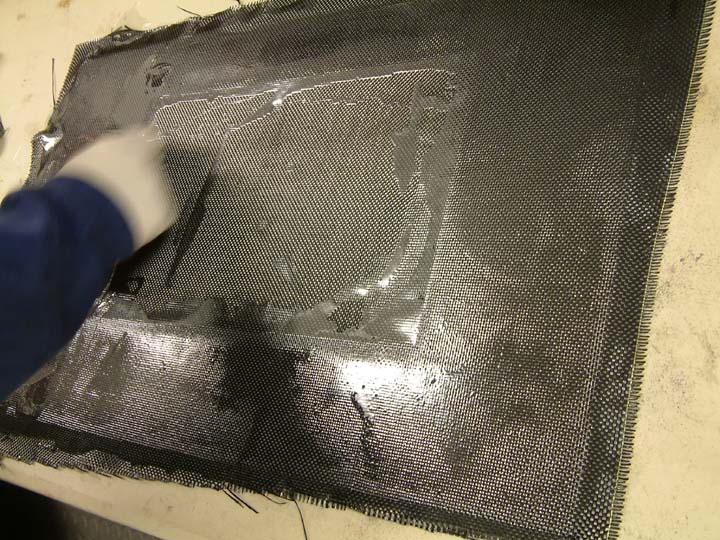
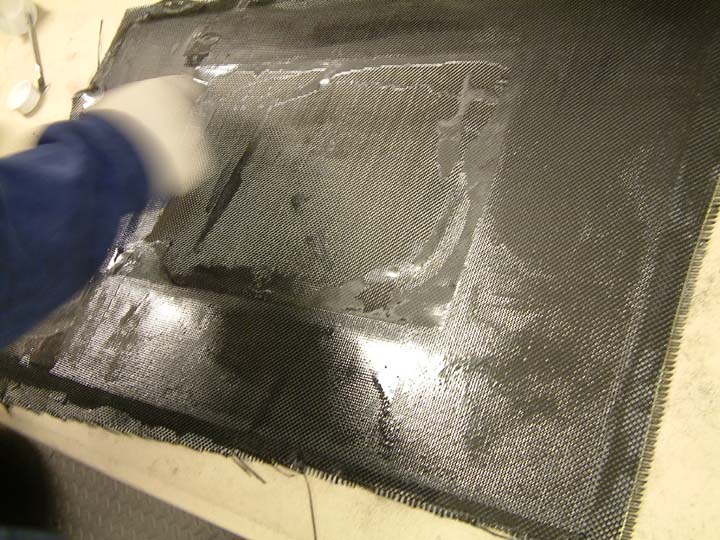
After we were satisfied with the trimmed out carbon fiber sheet, we mixed the resin according to instructions. Once thoroughly mixed, it takes on a blue color.
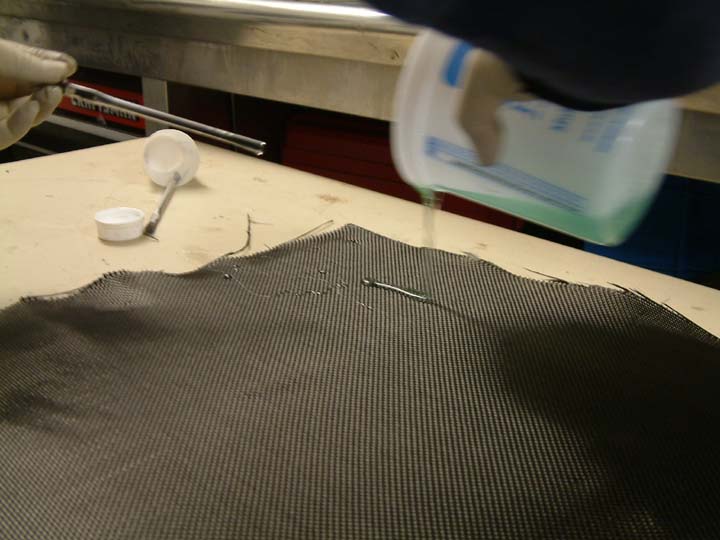
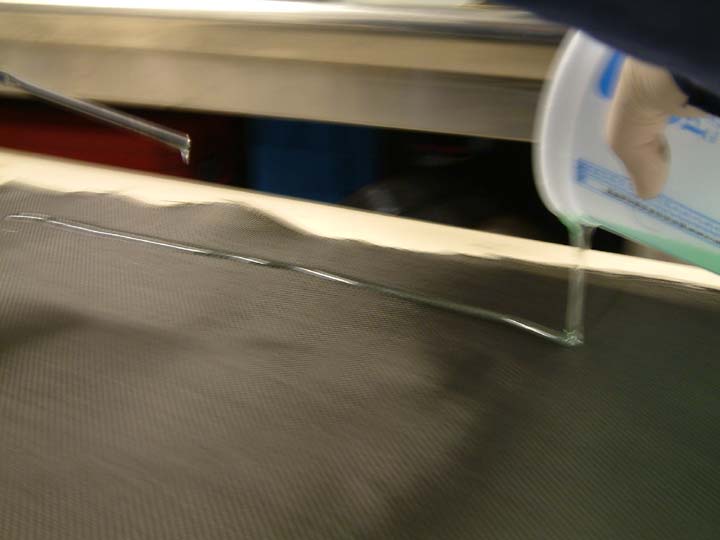
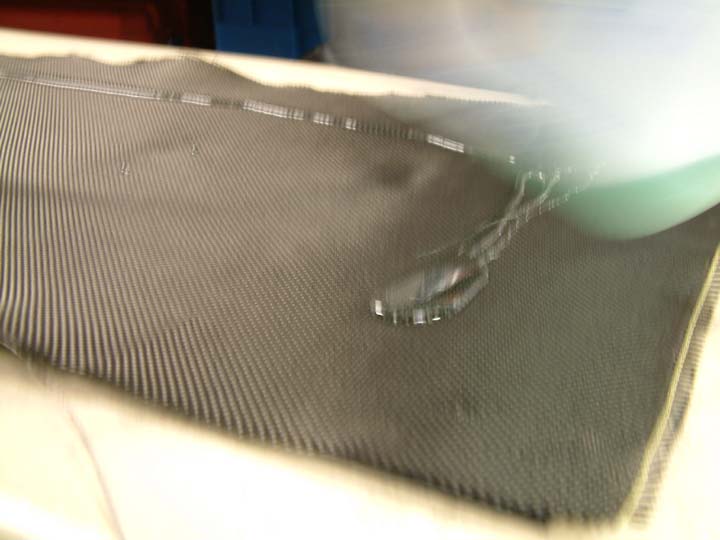
Then you start the laminating process. You pour the resin onto the surface and begin spreading it evenly around the carbon fiber. You need to make sure that the coverage is even and there are no air bubbles trapped underneath. Also, make sure that the table that you are working on is completely flat and clean of any dirt. You will leave this on the table to dry for at least 24 hours. If the piece is still tacky to the touch, then it is not completely dry. Once completely dry, you can sand it smooth and apply as many more coats as you think is necessary to get the perfect results. Just make sure that you have plenty of ventilation as you can get high on this stuff really easily. I think it smells awful. I compare it to the fiberglass resins and gelcoat that I have worked with in the past. Glenn seems to love the smell of this stuff. Careful Glenn, it may kill off some important brain cells.

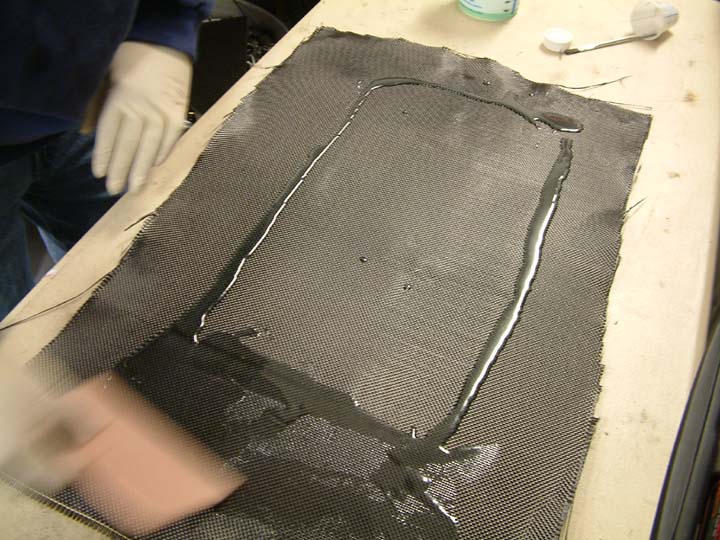
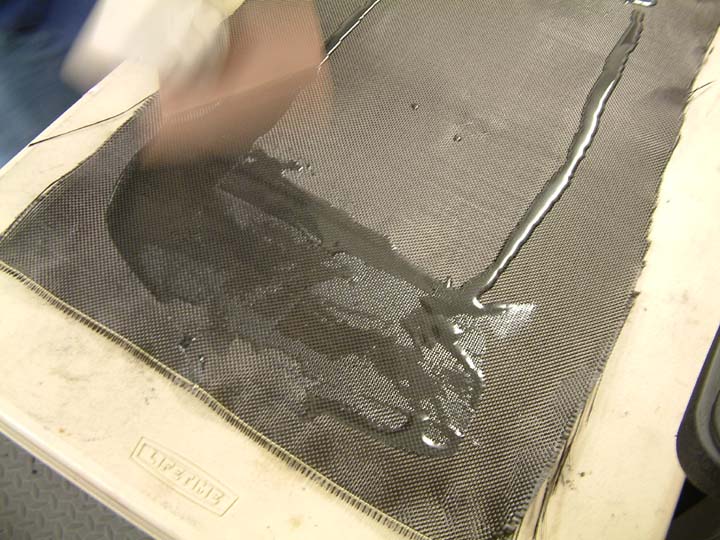
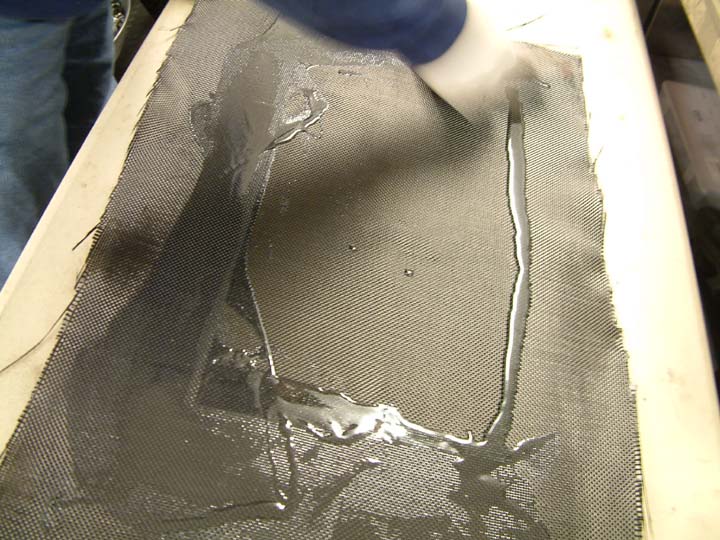
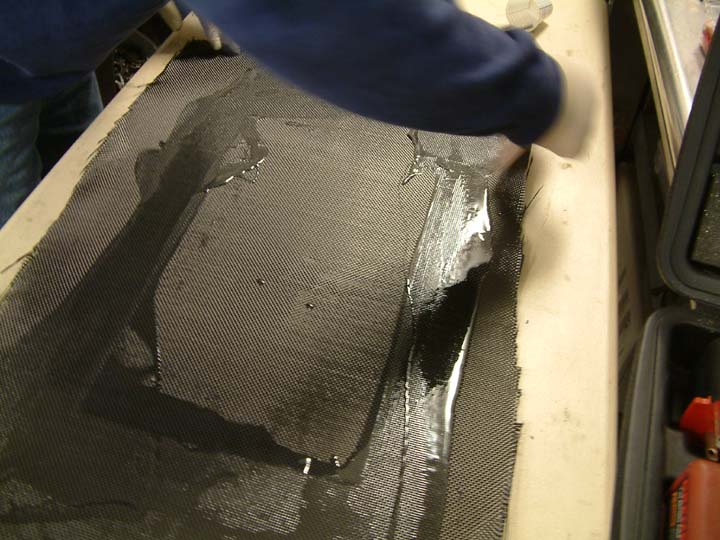


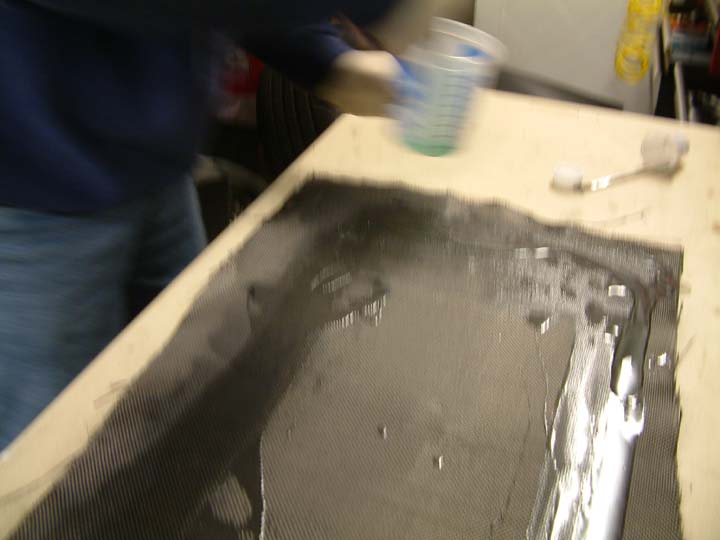
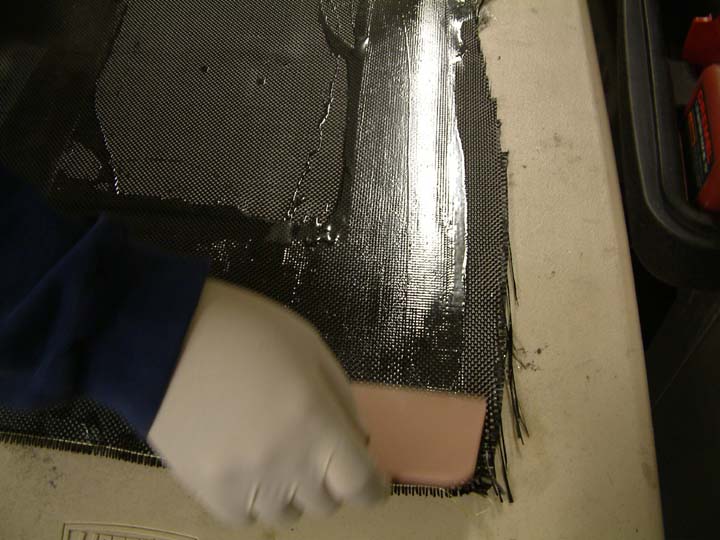
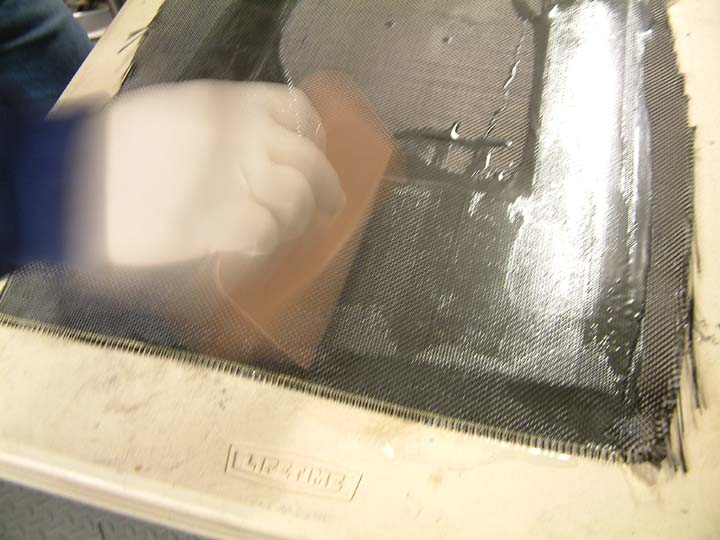
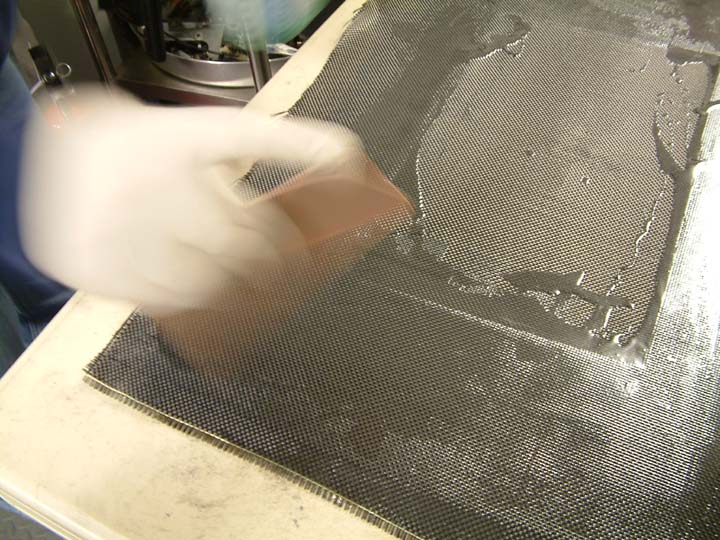
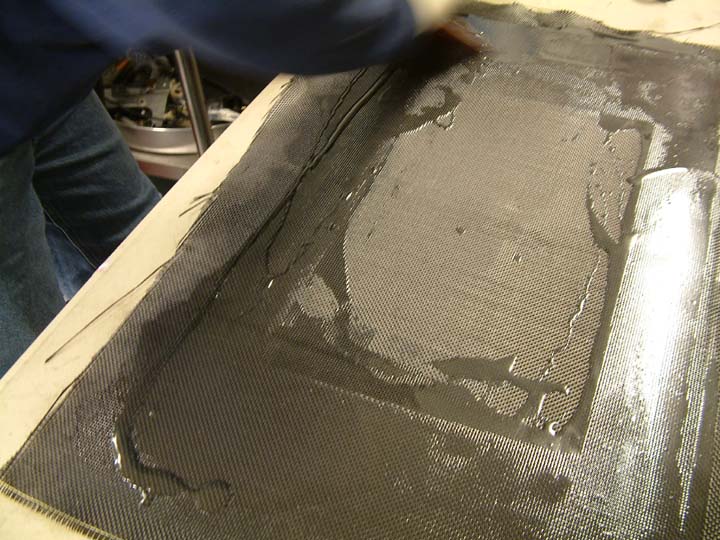
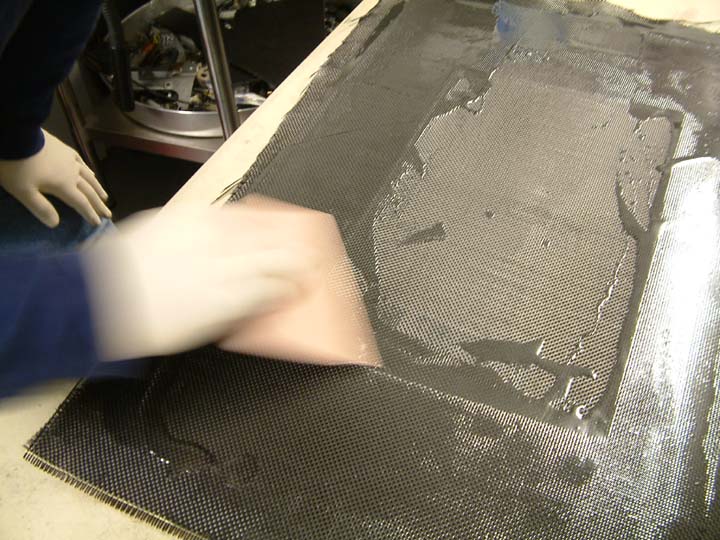
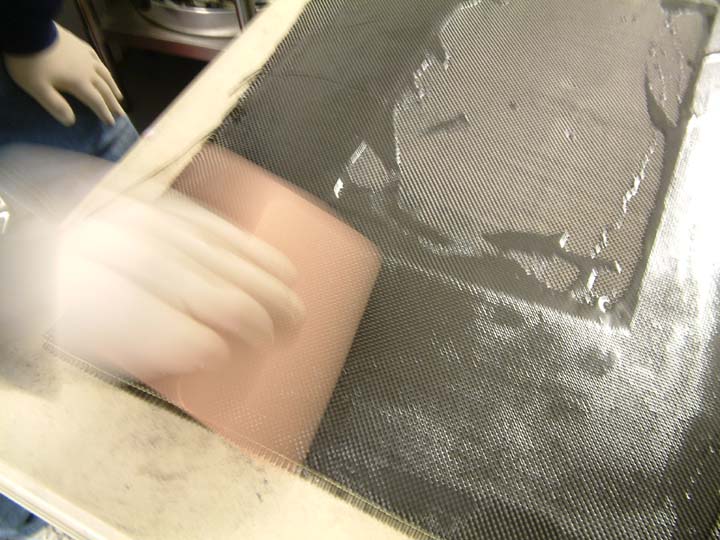


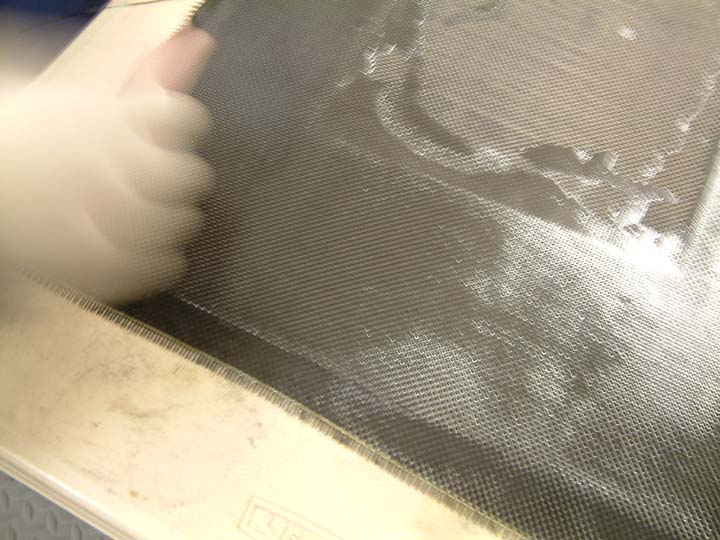
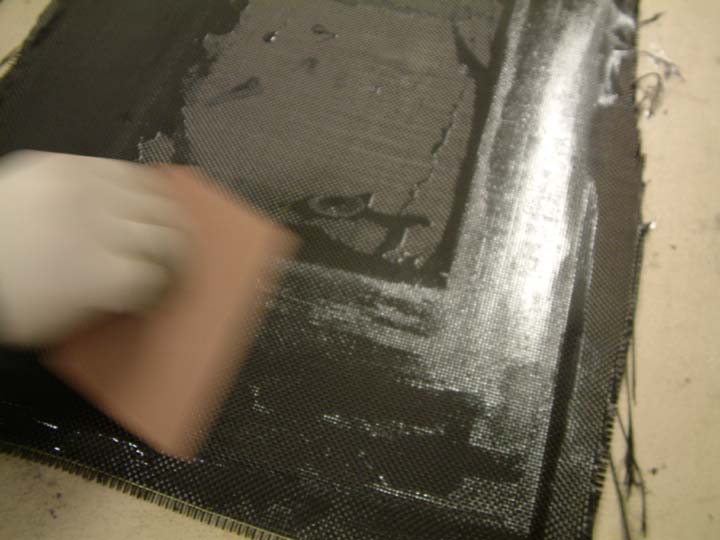
Glenn sanded and applied 2 more coats before we had the final product.
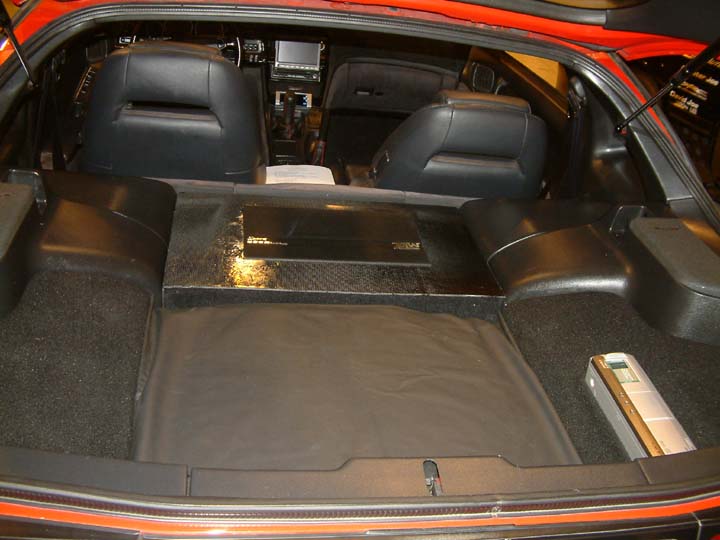
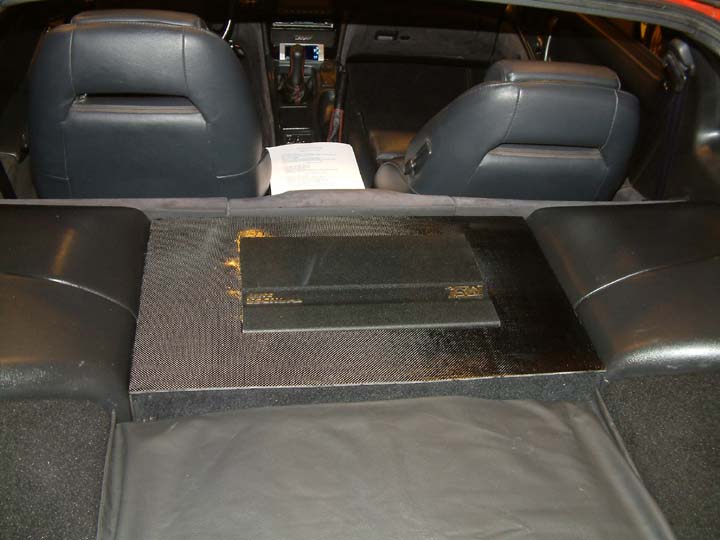
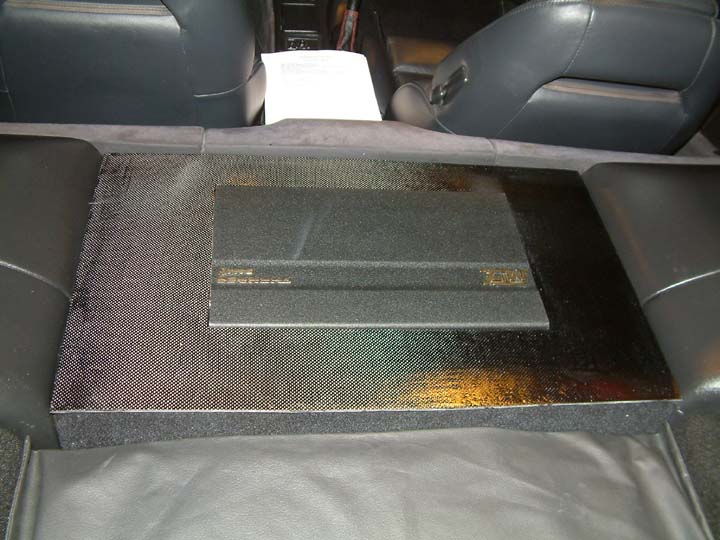 Here's what it looks
like in my car. I like the way it looks. Not bad for the first prototype. I
think we will make another one and learn from this experience to iron out any
bugs and such. Thanks again Glenn for helping with this fabrication. You are the
man and I look forward to many other hands on fabrication work and writeup
material. Of course, this is by no means an instruction manual. You follow these
directions at your own risk and we are not responsible for any mistakes or
accidents that may result.
Here's what it looks
like in my car. I like the way it looks. Not bad for the first prototype. I
think we will make another one and learn from this experience to iron out any
bugs and such. Thanks again Glenn for helping with this fabrication. You are the
man and I look forward to many other hands on fabrication work and writeup
material. Of course, this is by no means an instruction manual. You follow these
directions at your own risk and we are not responsible for any mistakes or
accidents that may result.