February 5, 2004
J-spec Shift Boot and E-brake Boot Install
Written by Joseph Keawkalaya
Images provided by Joseph Keawkalaya
Created: 2/5/2004
Last updated: 2/10/2004
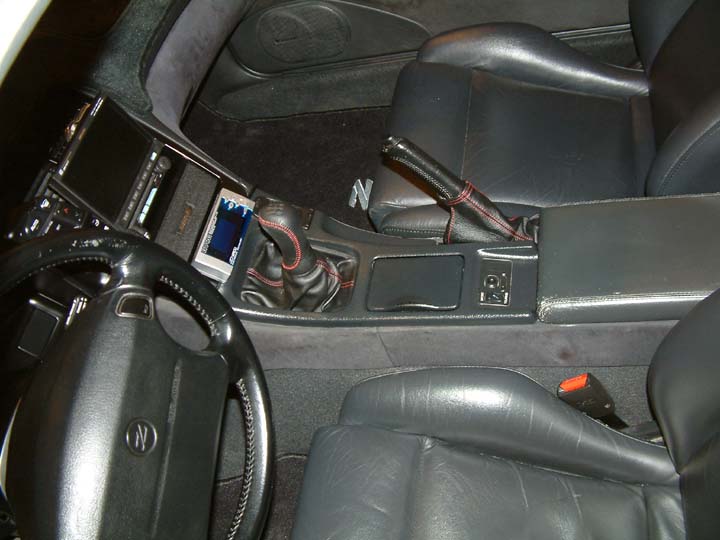
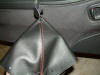
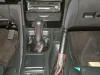
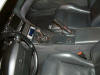
My shift boot and
ebrake boot was looking pretty bad after all these years. Nine years of wear and
tear have resulted in some funky wear and some tears. I figured, since my car
has a J-spec theme, why not? I purchased a J-spec shift knob from Coz, who has
excellent service as usual, and the red stitched shift boot and e-brake boot
from Courtesy Parts and got the TT.net discount for members.
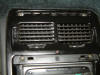
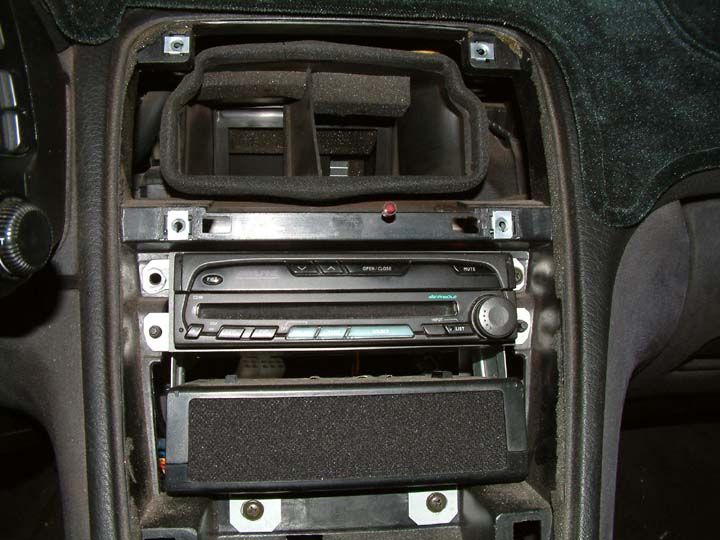
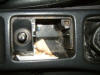
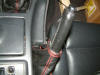
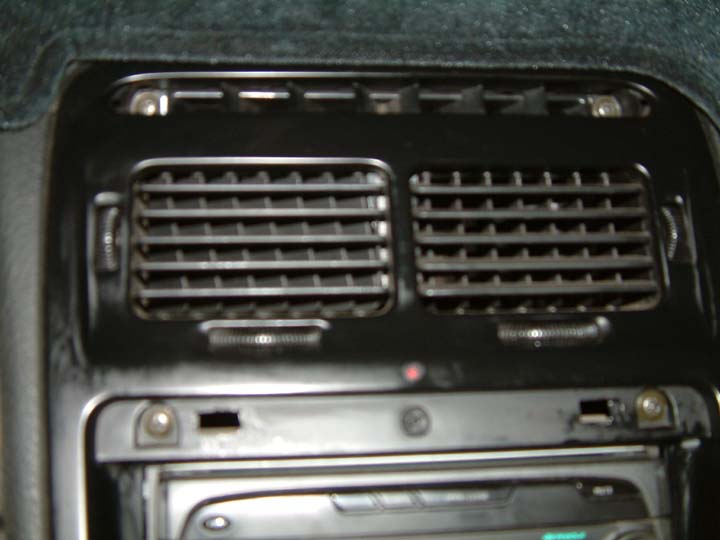
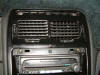 First of all you have
to remove the trim piece right above the radio. You have to be careful because
there are two metal snaps that attach to the two holes. I used a small
screwdriver and pushed upwards from the bottom of the snaps. It releases the
tension and allows you to pull it out. Remove the two screws and put them aside.
After you are done with that, then you pull out the two screw covers at the top
of the vents in the two corners. Once you pull them off, you can remove the two
screws and put them aside. Then you can remove the front trim and make sure that
you disconnect the connector to the factory clock.
First of all you have
to remove the trim piece right above the radio. You have to be careful because
there are two metal snaps that attach to the two holes. I used a small
screwdriver and pushed upwards from the bottom of the snaps. It releases the
tension and allows you to pull it out. Remove the two screws and put them aside.
After you are done with that, then you pull out the two screw covers at the top
of the vents in the two corners. Once you pull them off, you can remove the two
screws and put them aside. Then you can remove the front trim and make sure that
you disconnect the connector to the factory clock.
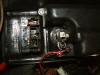
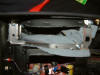
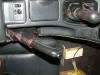
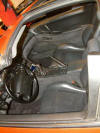
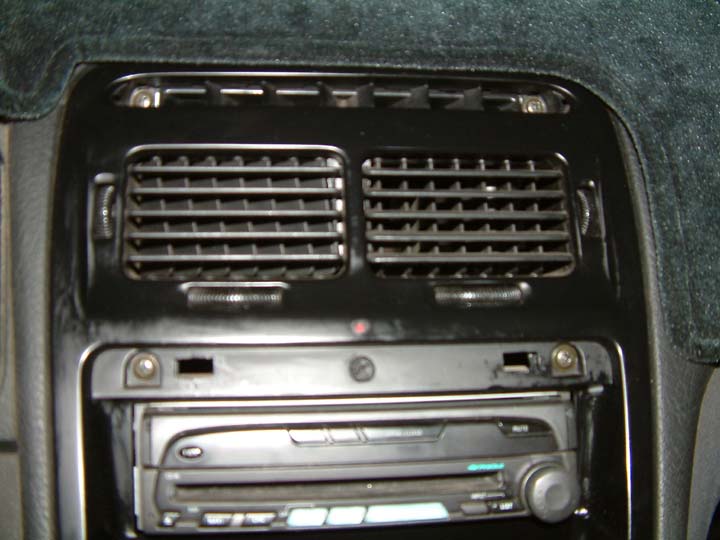
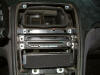 This is what the front
console looks like after you remove the front vent trim.
This is what the front
console looks like after you remove the front vent trim.
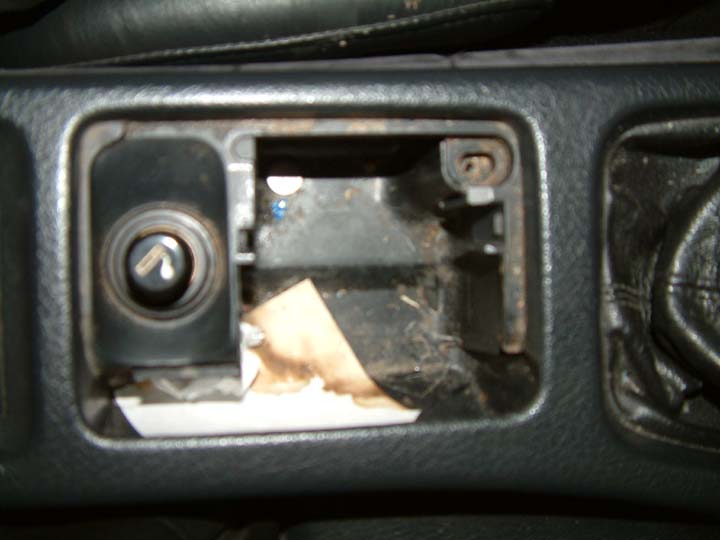
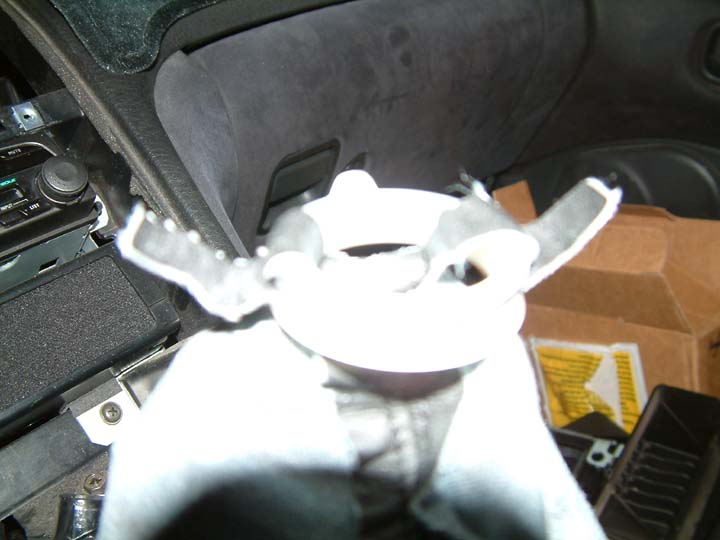
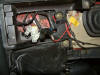
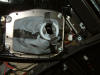
 Remove the ashtray and
remove the one screw. Yes, I know, it's dirty in there. It's clean now. ;-P
Remove the ashtray and
remove the one screw. Yes, I know, it's dirty in there. It's clean now. ;-P
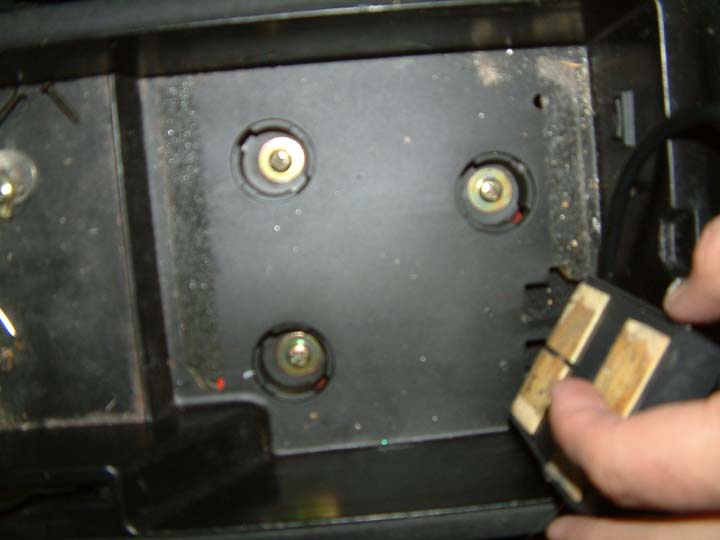
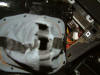
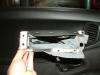
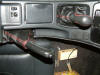
 Open the center
console door and remove the mini carpet. You have to remove the three screws.
After that, you have to pull the whole center console forward. Watch where the
front lower corners are flush with the center piece. You just have to kind of
bend the front piece outwards a bit and then slide the whole assembly forward.
Sorry if it's kinda vague but when you are looking at the whole piece, it
becomes more apparent.
Open the center
console door and remove the mini carpet. You have to remove the three screws.
After that, you have to pull the whole center console forward. Watch where the
front lower corners are flush with the center piece. You just have to kind of
bend the front piece outwards a bit and then slide the whole assembly forward.
Sorry if it's kinda vague but when you are looking at the whole piece, it
becomes more apparent.
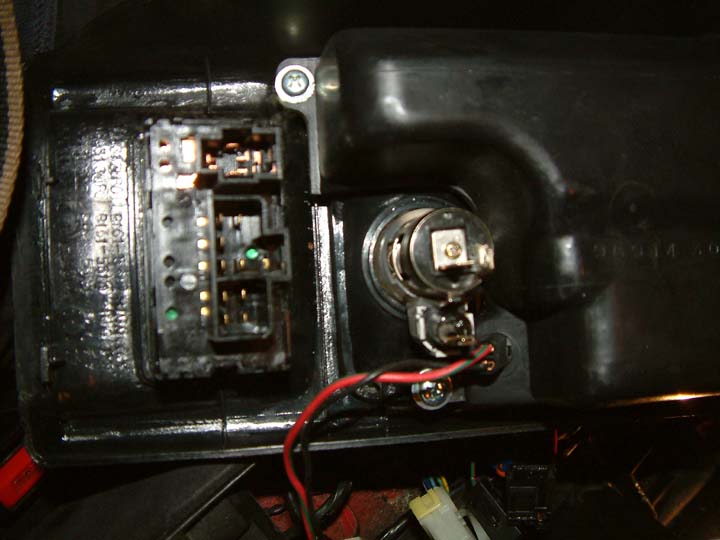
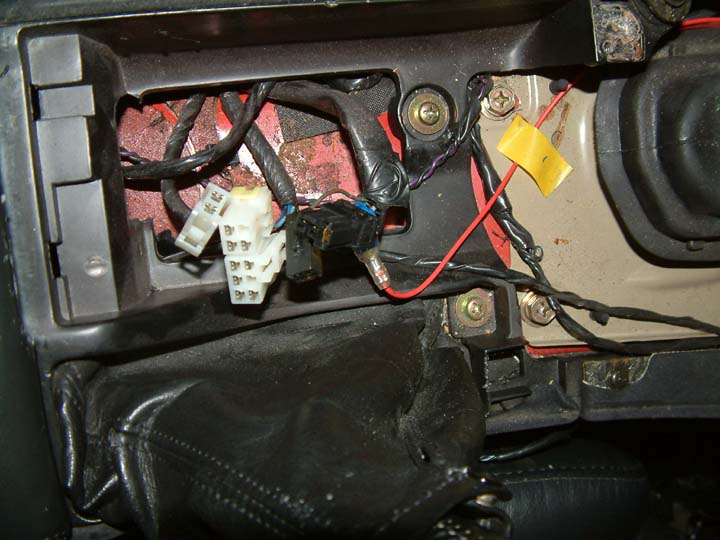
 Turn the console
upside down or to the side and disconnect the following plugs:
Turn the console
upside down or to the side and disconnect the following plugs:
1) Cigarette
lighter plug (2 plugs).
2) Electric mirror
and for Twin Turbos, the adjustable shock switch (1 plug each).
3) For me, I had to
disconnect an alarm LED, proximity sensor plug, and my Alpine Digital processor
plug.
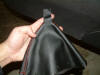
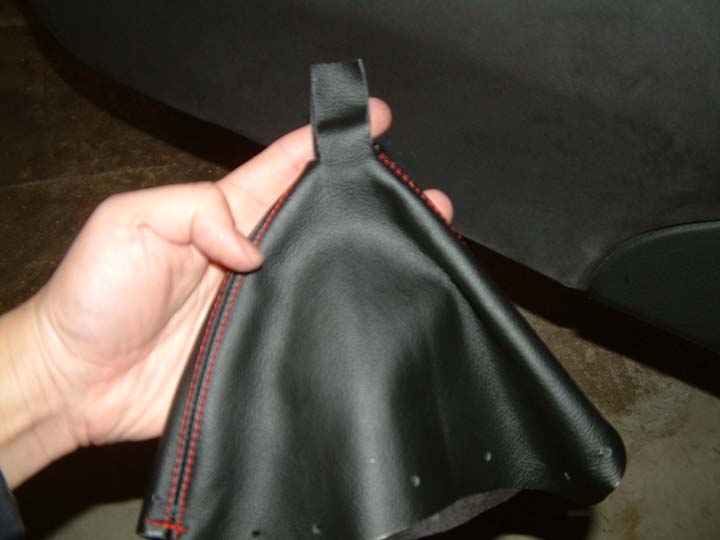
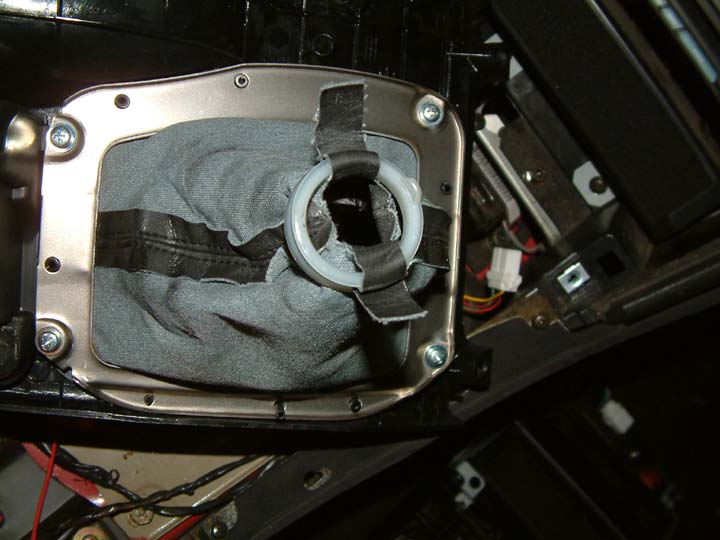
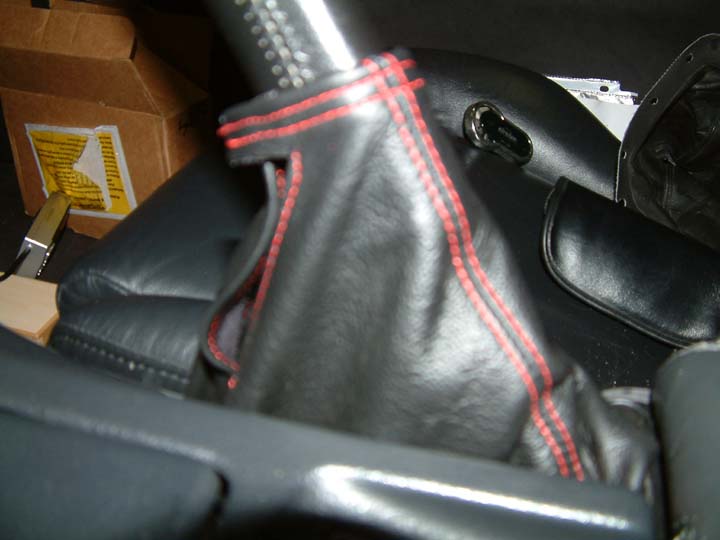
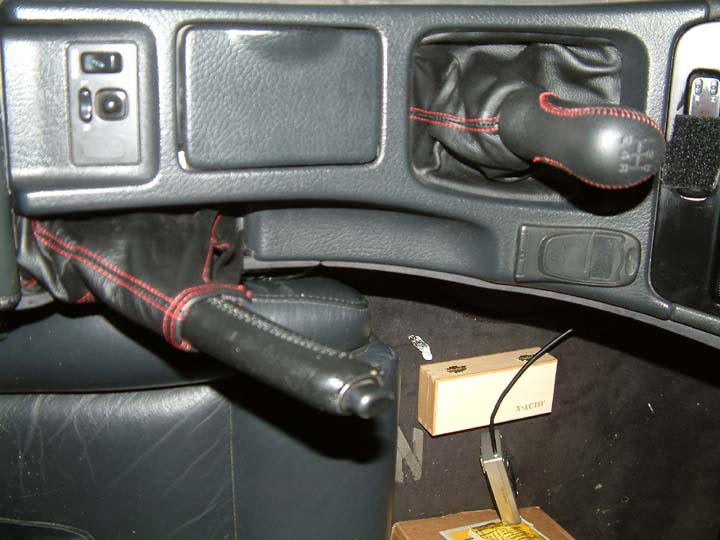
 This is what the shift
boot looks like.
This is what the shift
boot looks like.

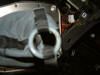
 To remove the old
boot, you remove the 4 screws to take the metal plate off and then you slide the
rubber seal over the plastic ring and the whole thing will slide out. To install
the new boot, it's the exact reverse of removing it. Make sure all the little
holes line up. Put the ring back on and then make sure the two leather wings are
wrapped around the plastic ring before you put the rubber seal back on.
To remove the old
boot, you remove the 4 screws to take the metal plate off and then you slide the
rubber seal over the plastic ring and the whole thing will slide out. To install
the new boot, it's the exact reverse of removing it. Make sure all the little
holes line up. Put the ring back on and then make sure the two leather wings are
wrapped around the plastic ring before you put the rubber seal back on.
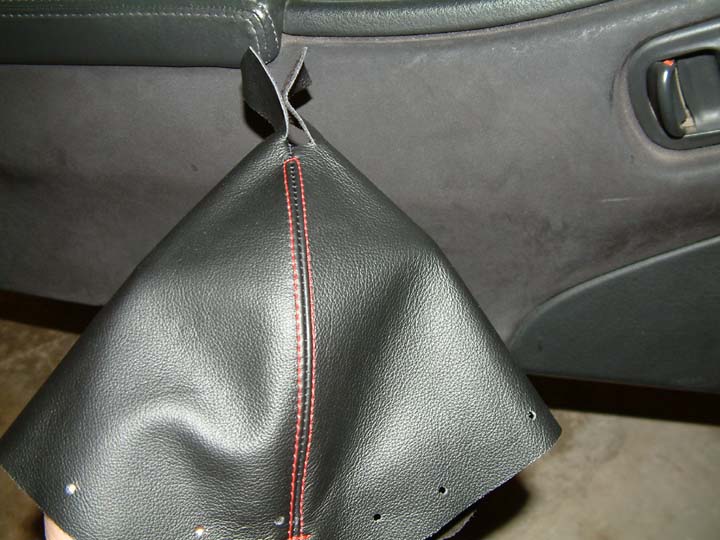
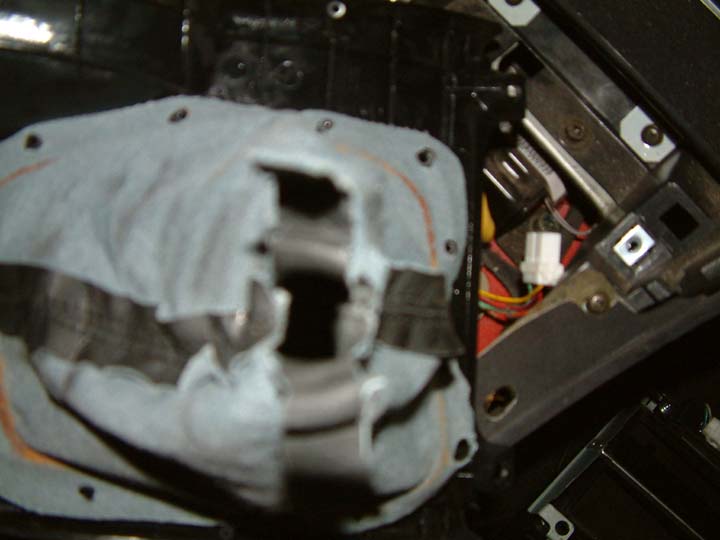
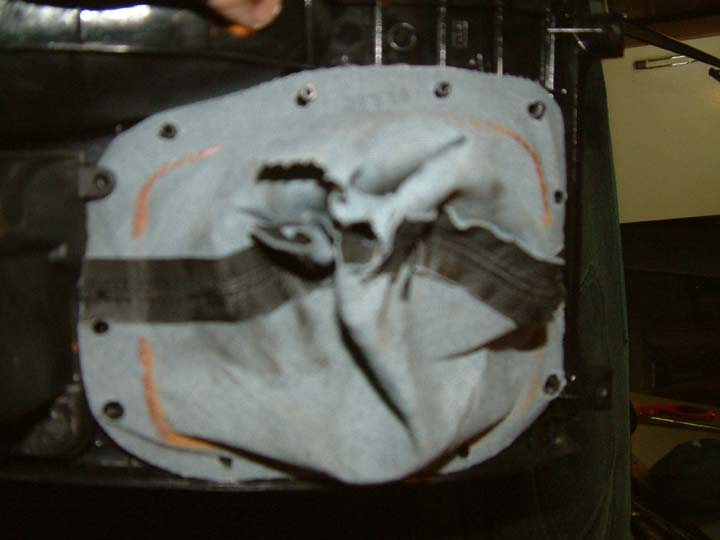
 The shift boot was
pretty self-explanatory as well and has a similar installation like the shift
boot. There are 3 screws that you need to remove and then you can slide the
metal frame off and the boot. Like above, the installation of the new boot is
the exact reverse of removing it. You may have to stretch the boot a little to
fit all the little holes. The one hitch in the installation I had was that I had
to cut two holes in the boot that were inadvertently left off. After both boots
are back on, reverse the removal process and make sure that you reconnect all
the plugs that you removed. There is a lot of dust and such inside, so now is a
good time to vacuum and dust off all the normally hidden parts. I don't know
about you guys and gals, but I always have dust on the radio trim surround so I
was able to clean that off and also the dust inside the vents.
The shift boot was
pretty self-explanatory as well and has a similar installation like the shift
boot. There are 3 screws that you need to remove and then you can slide the
metal frame off and the boot. Like above, the installation of the new boot is
the exact reverse of removing it. You may have to stretch the boot a little to
fit all the little holes. The one hitch in the installation I had was that I had
to cut two holes in the boot that were inadvertently left off. After both boots
are back on, reverse the removal process and make sure that you reconnect all
the plugs that you removed. There is a lot of dust and such inside, so now is a
good time to vacuum and dust off all the normally hidden parts. I don't know
about you guys and gals, but I always have dust on the radio trim surround so I
was able to clean that off and also the dust inside the vents.

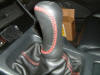
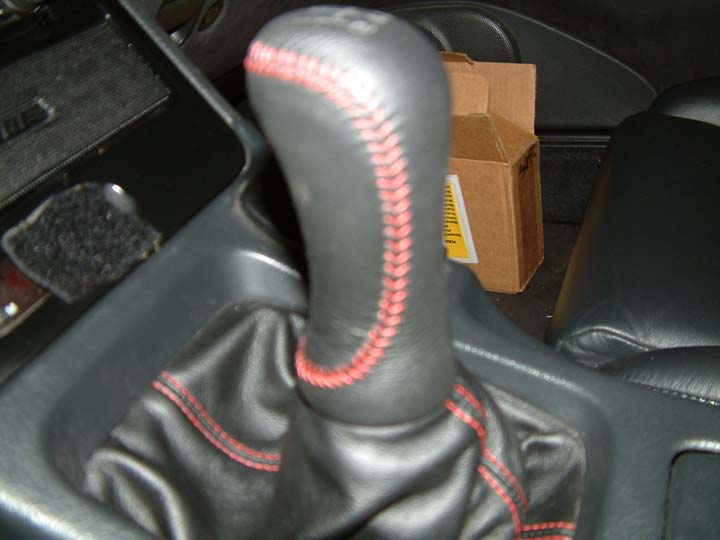
 Here is the new shift
knob and shift boot.
Here is the new shift
knob and shift boot.
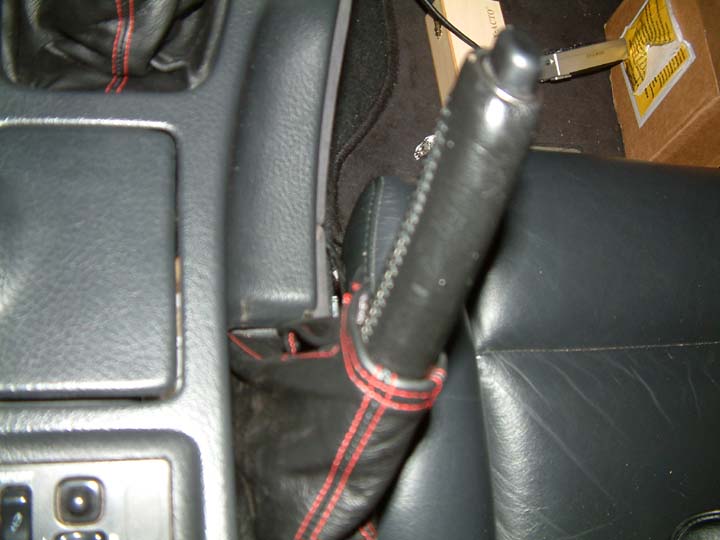
 Here is the new
e-brake boot
Here is the new
e-brake boot
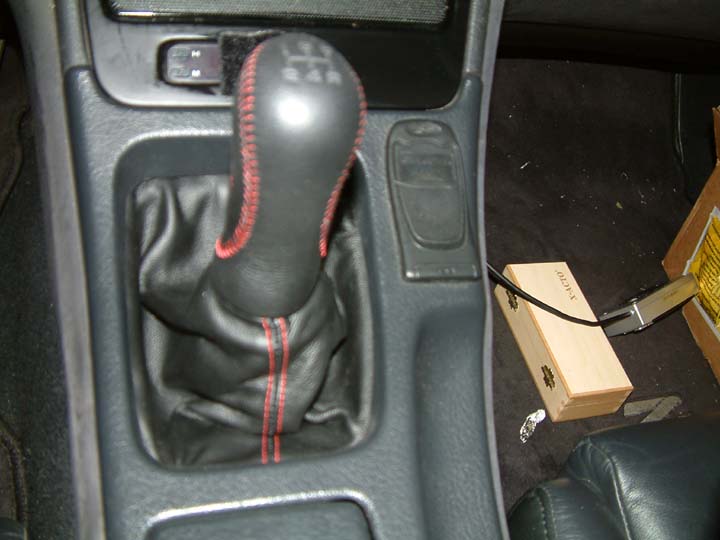
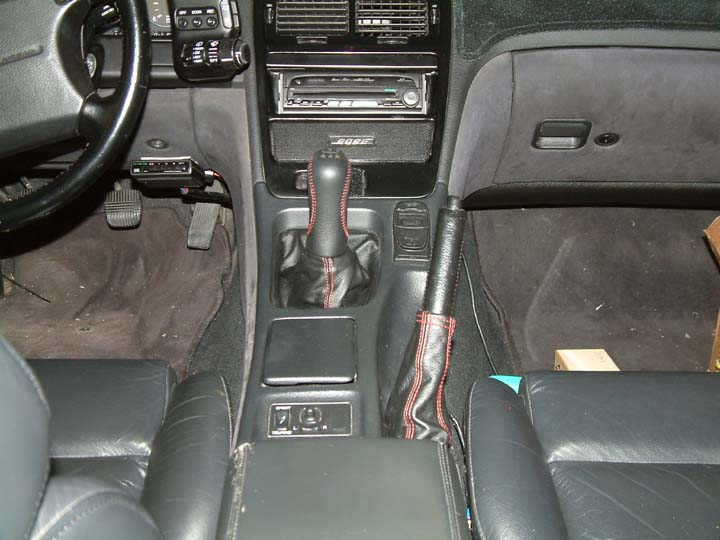
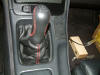
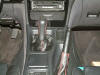 Both together... I
know, I know, my interior was dirty. I was detailing the car and doing all kinds
of other stuff.
Both together... I
know, I know, my interior was dirty. I was detailing the car and doing all kinds
of other stuff.
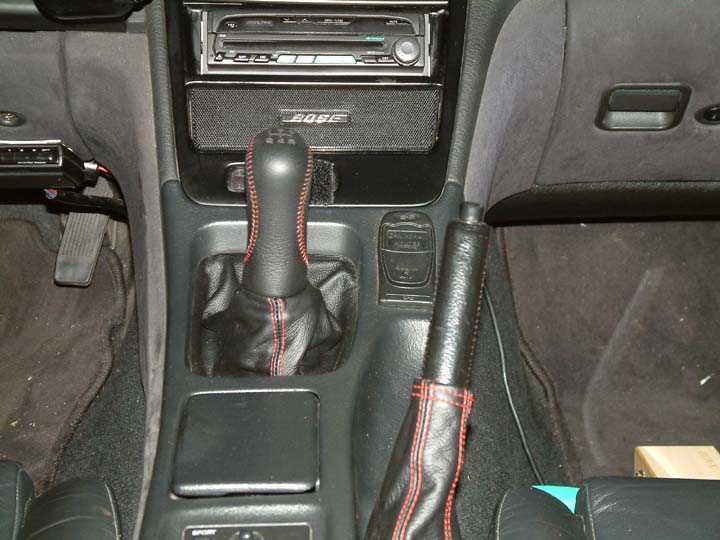
 Here are pics of
everything all cleaned up. My camera's resolution is so high, that you can make
out dust especially on the floor mats. They must be the kind of dust that is not
visible to the naked eye or something. Doh!
Here are pics of
everything all cleaned up. My camera's resolution is so high, that you can make
out dust especially on the floor mats. They must be the kind of dust that is not
visible to the naked eye or something. Doh!
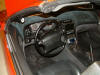
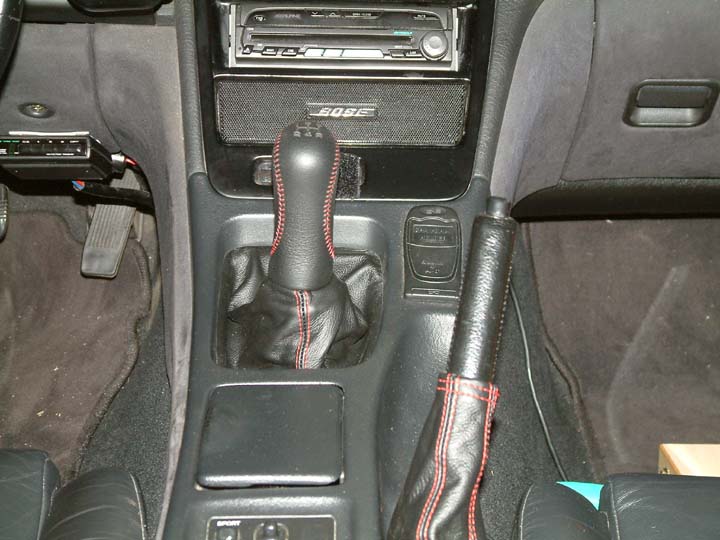
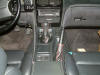
With my new gauge
rings, the interior really has changed. I like the red stitching and it seems to
go well with my car's color. Now, the seats and panels are another story. Time
takes it's toll on the seats. My leather seats are still soft and supple and not
dry and crunchy. I always clean and condition the seats, but it just seems like
you can't do anything about the wrinkles, creases, and lines. Blah. Hope this
write-up was informative and somewhat helpful.
Return to homepage
 First of all you have
to remove the trim piece right above the radio. You have to be careful because
there are two metal snaps that attach to the two holes. I used a small
screwdriver and pushed upwards from the bottom of the snaps. It releases the
tension and allows you to pull it out. Remove the two screws and put them aside.
After you are done with that, then you pull out the two screw covers at the top
of the vents in the two corners. Once you pull them off, you can remove the two
screws and put them aside. Then you can remove the front trim and make sure that
you disconnect the connector to the factory clock.
First of all you have
to remove the trim piece right above the radio. You have to be careful because
there are two metal snaps that attach to the two holes. I used a small
screwdriver and pushed upwards from the bottom of the snaps. It releases the
tension and allows you to pull it out. Remove the two screws and put them aside.
After you are done with that, then you pull out the two screw covers at the top
of the vents in the two corners. Once you pull them off, you can remove the two
screws and put them aside. Then you can remove the front trim and make sure that
you disconnect the connector to the factory clock.